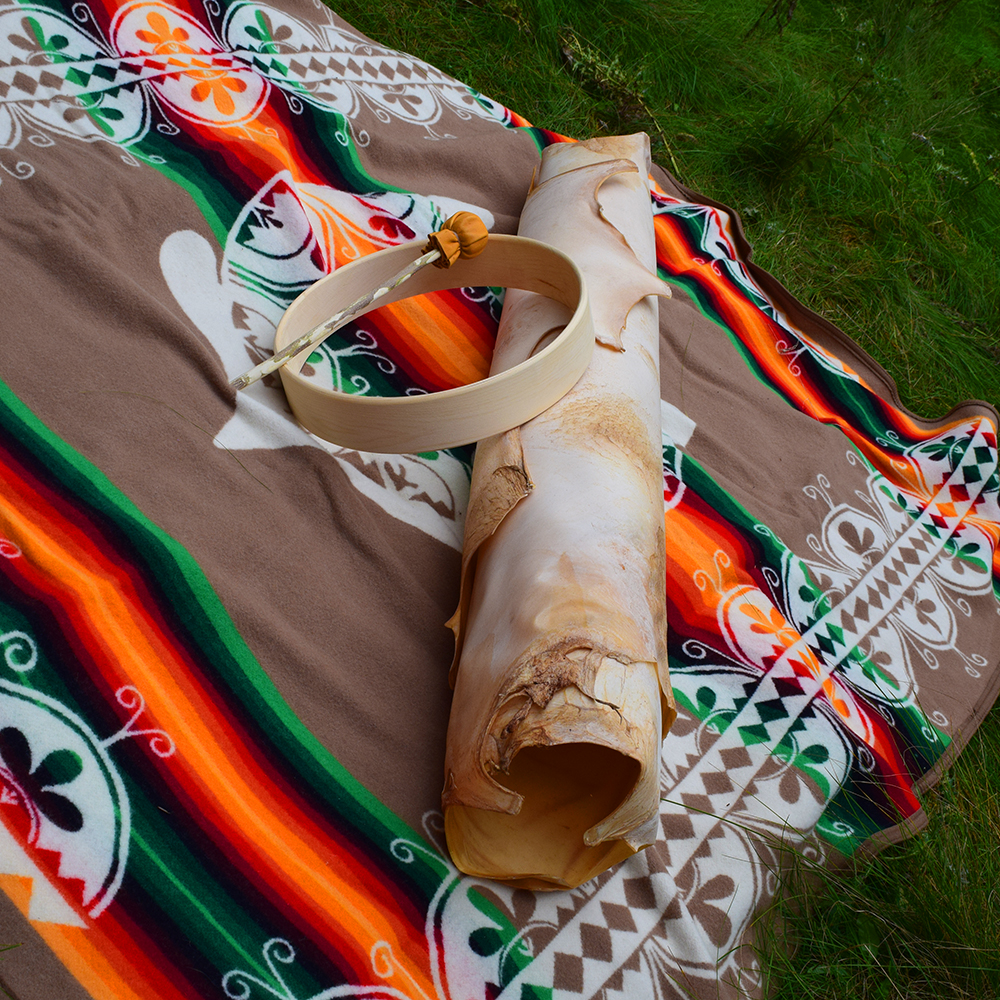
A Photo Reference – Your Step-by-Step Guide

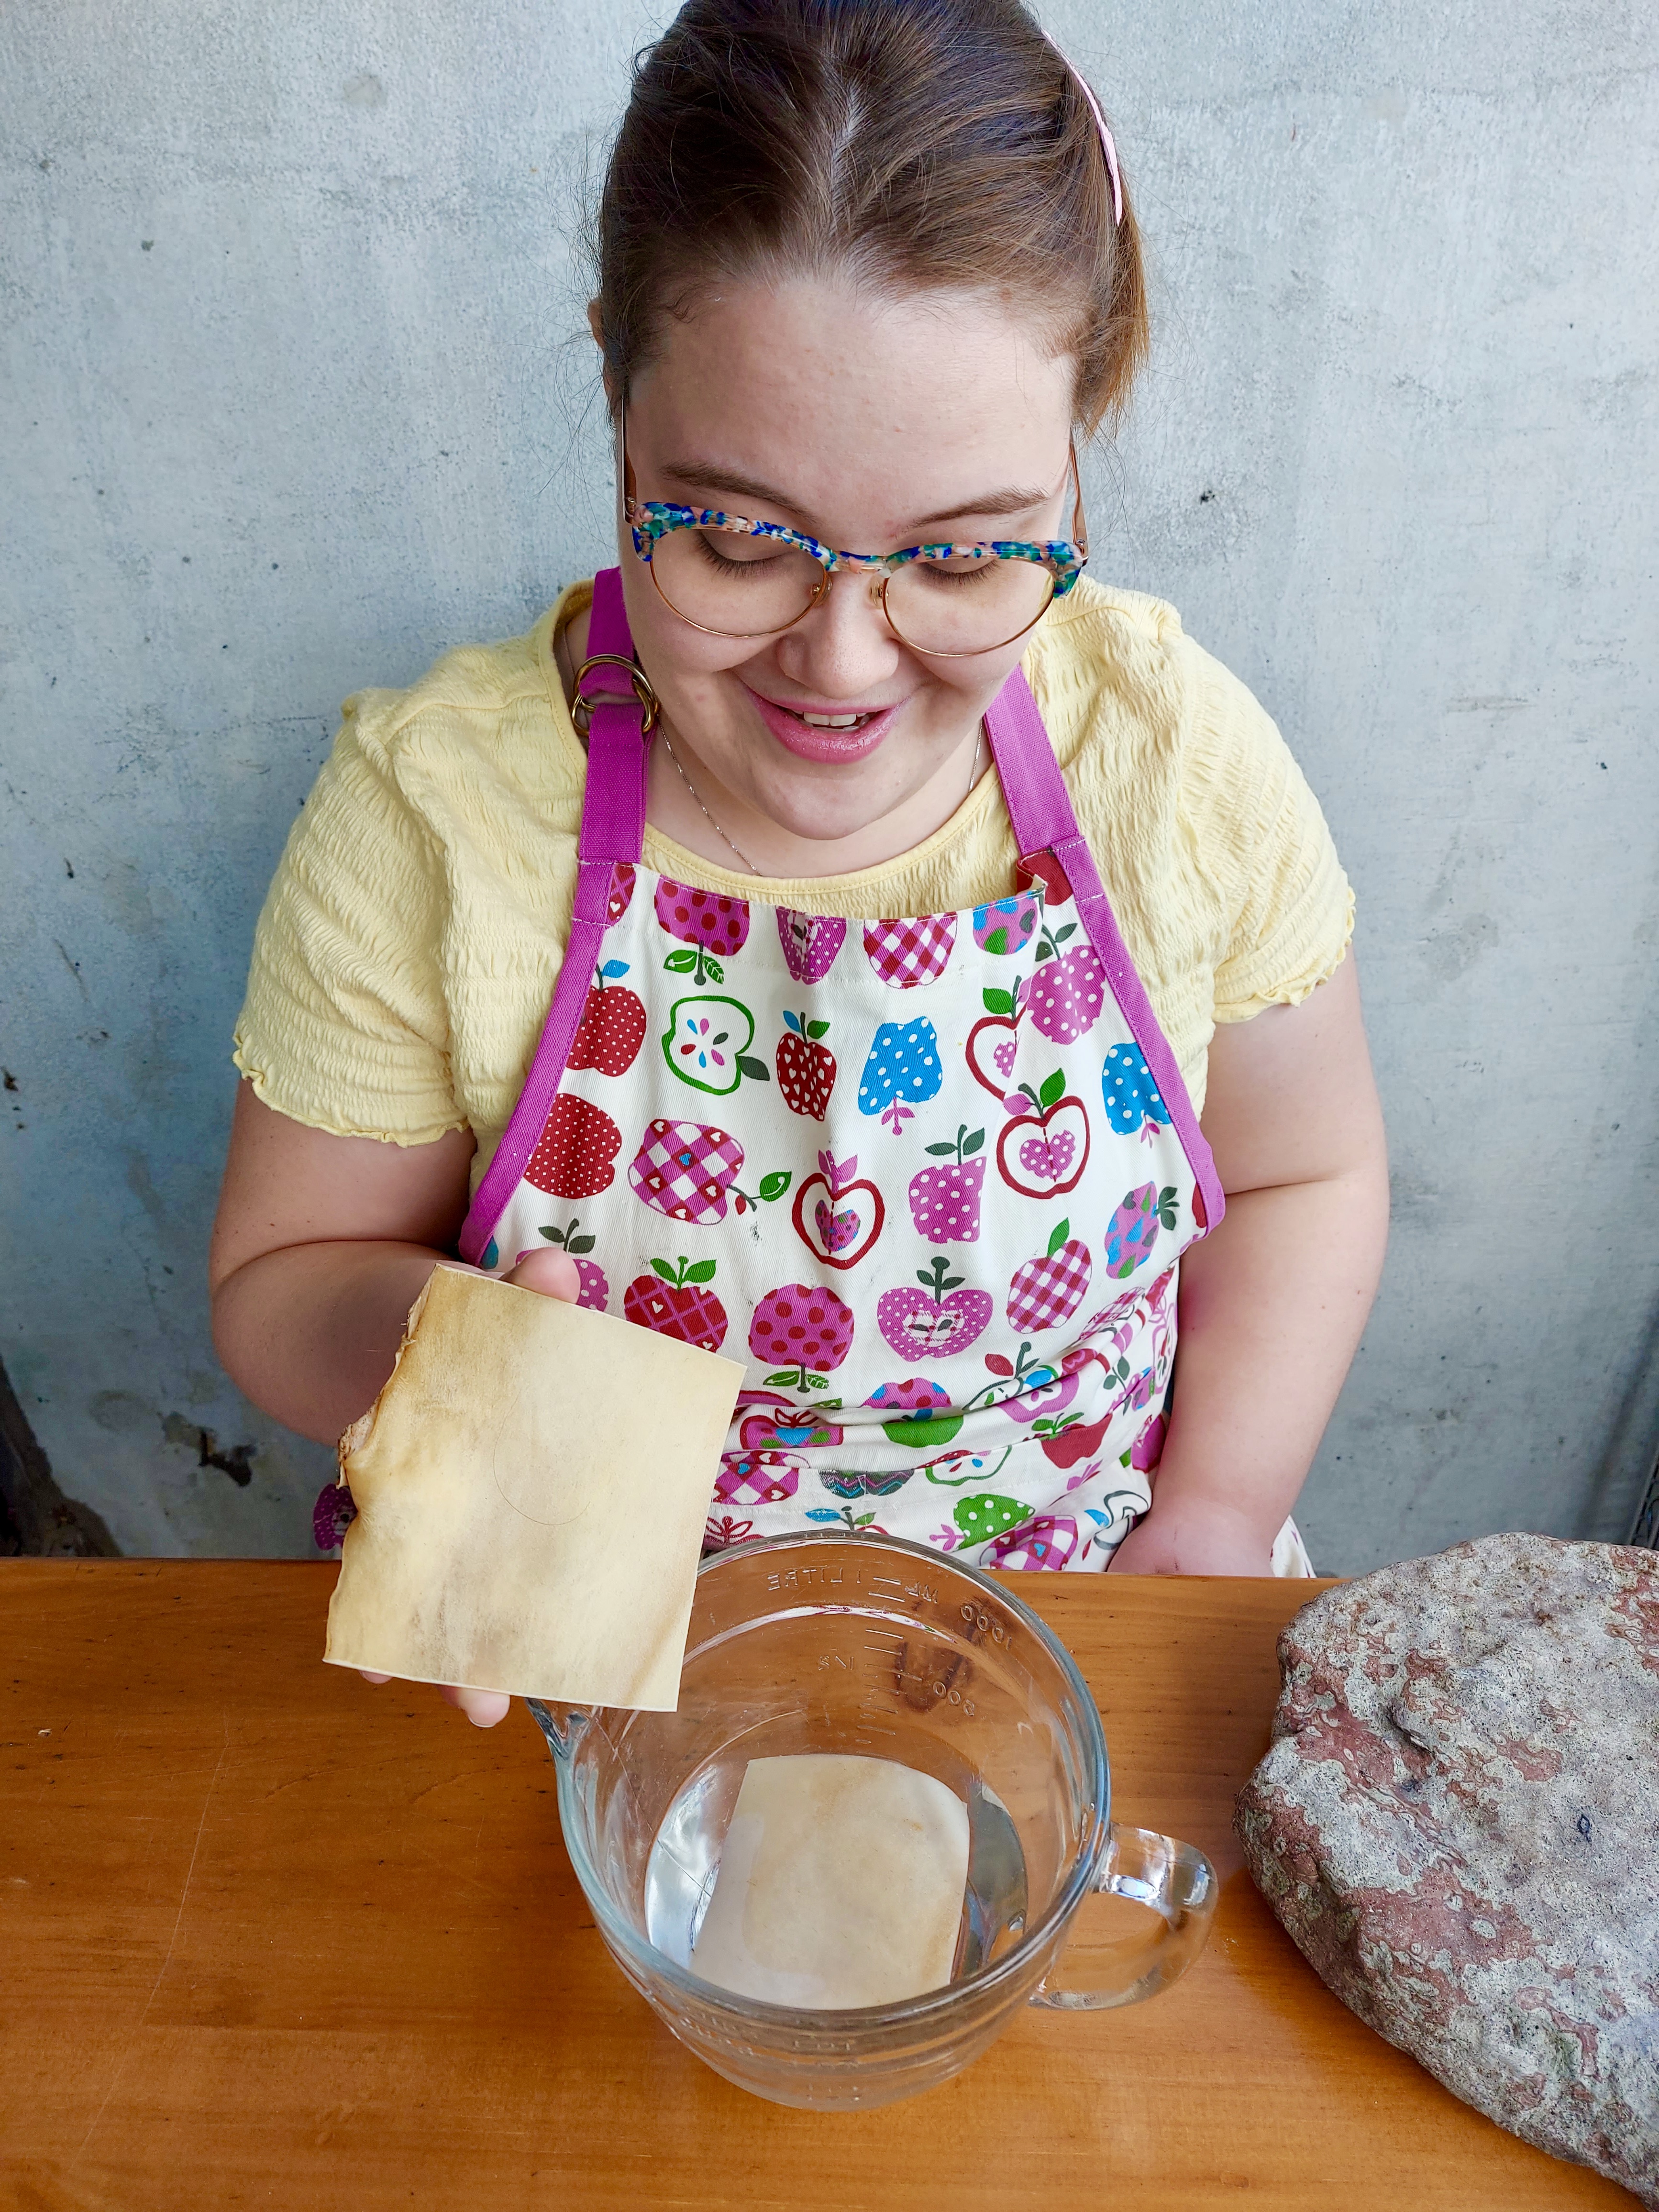
Step 1: Drawing on the Shape to Cut
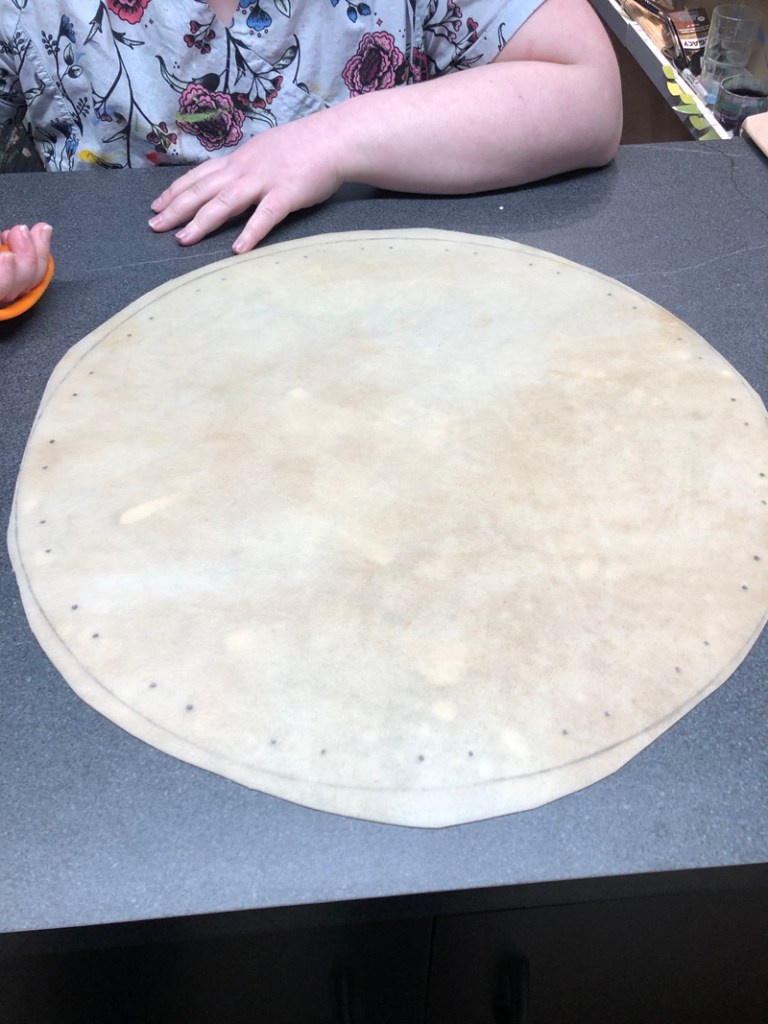
and is Ready to Cut the Rawhide
In order to cut the shape, I first draw on the pattern. In order to do this, I lay the drum frame on the soaked rawhide and draw the shape with an HB pencil that is not very sharp. The size that I draw on is usually about 2-1/2″ larger all the way around the frame. So for a 14″D frame, I draw on a 19″D shape that is the same shape of the frame. After I do this, I mark the string pleating holes, to be punched out later. This can be a very frustrating step, so I create a paper template and fold the paper to assure that the pleat holes are perfectly symmetrical. I will be posting another how-to concerning this step, but basically the two holes close together are for the pleat and the wider space is where the hide will lay flat against the frame when dry. The number one thing to remember is, the pleats must be evenly spaced and even in number, such as 8, 12, 16 pleats and so on. Keep the string holes about 3/4″ from the edge, all the way around. Premium drums have 16+ pleats. But to begin, I would only use 8 or 12 pleats.
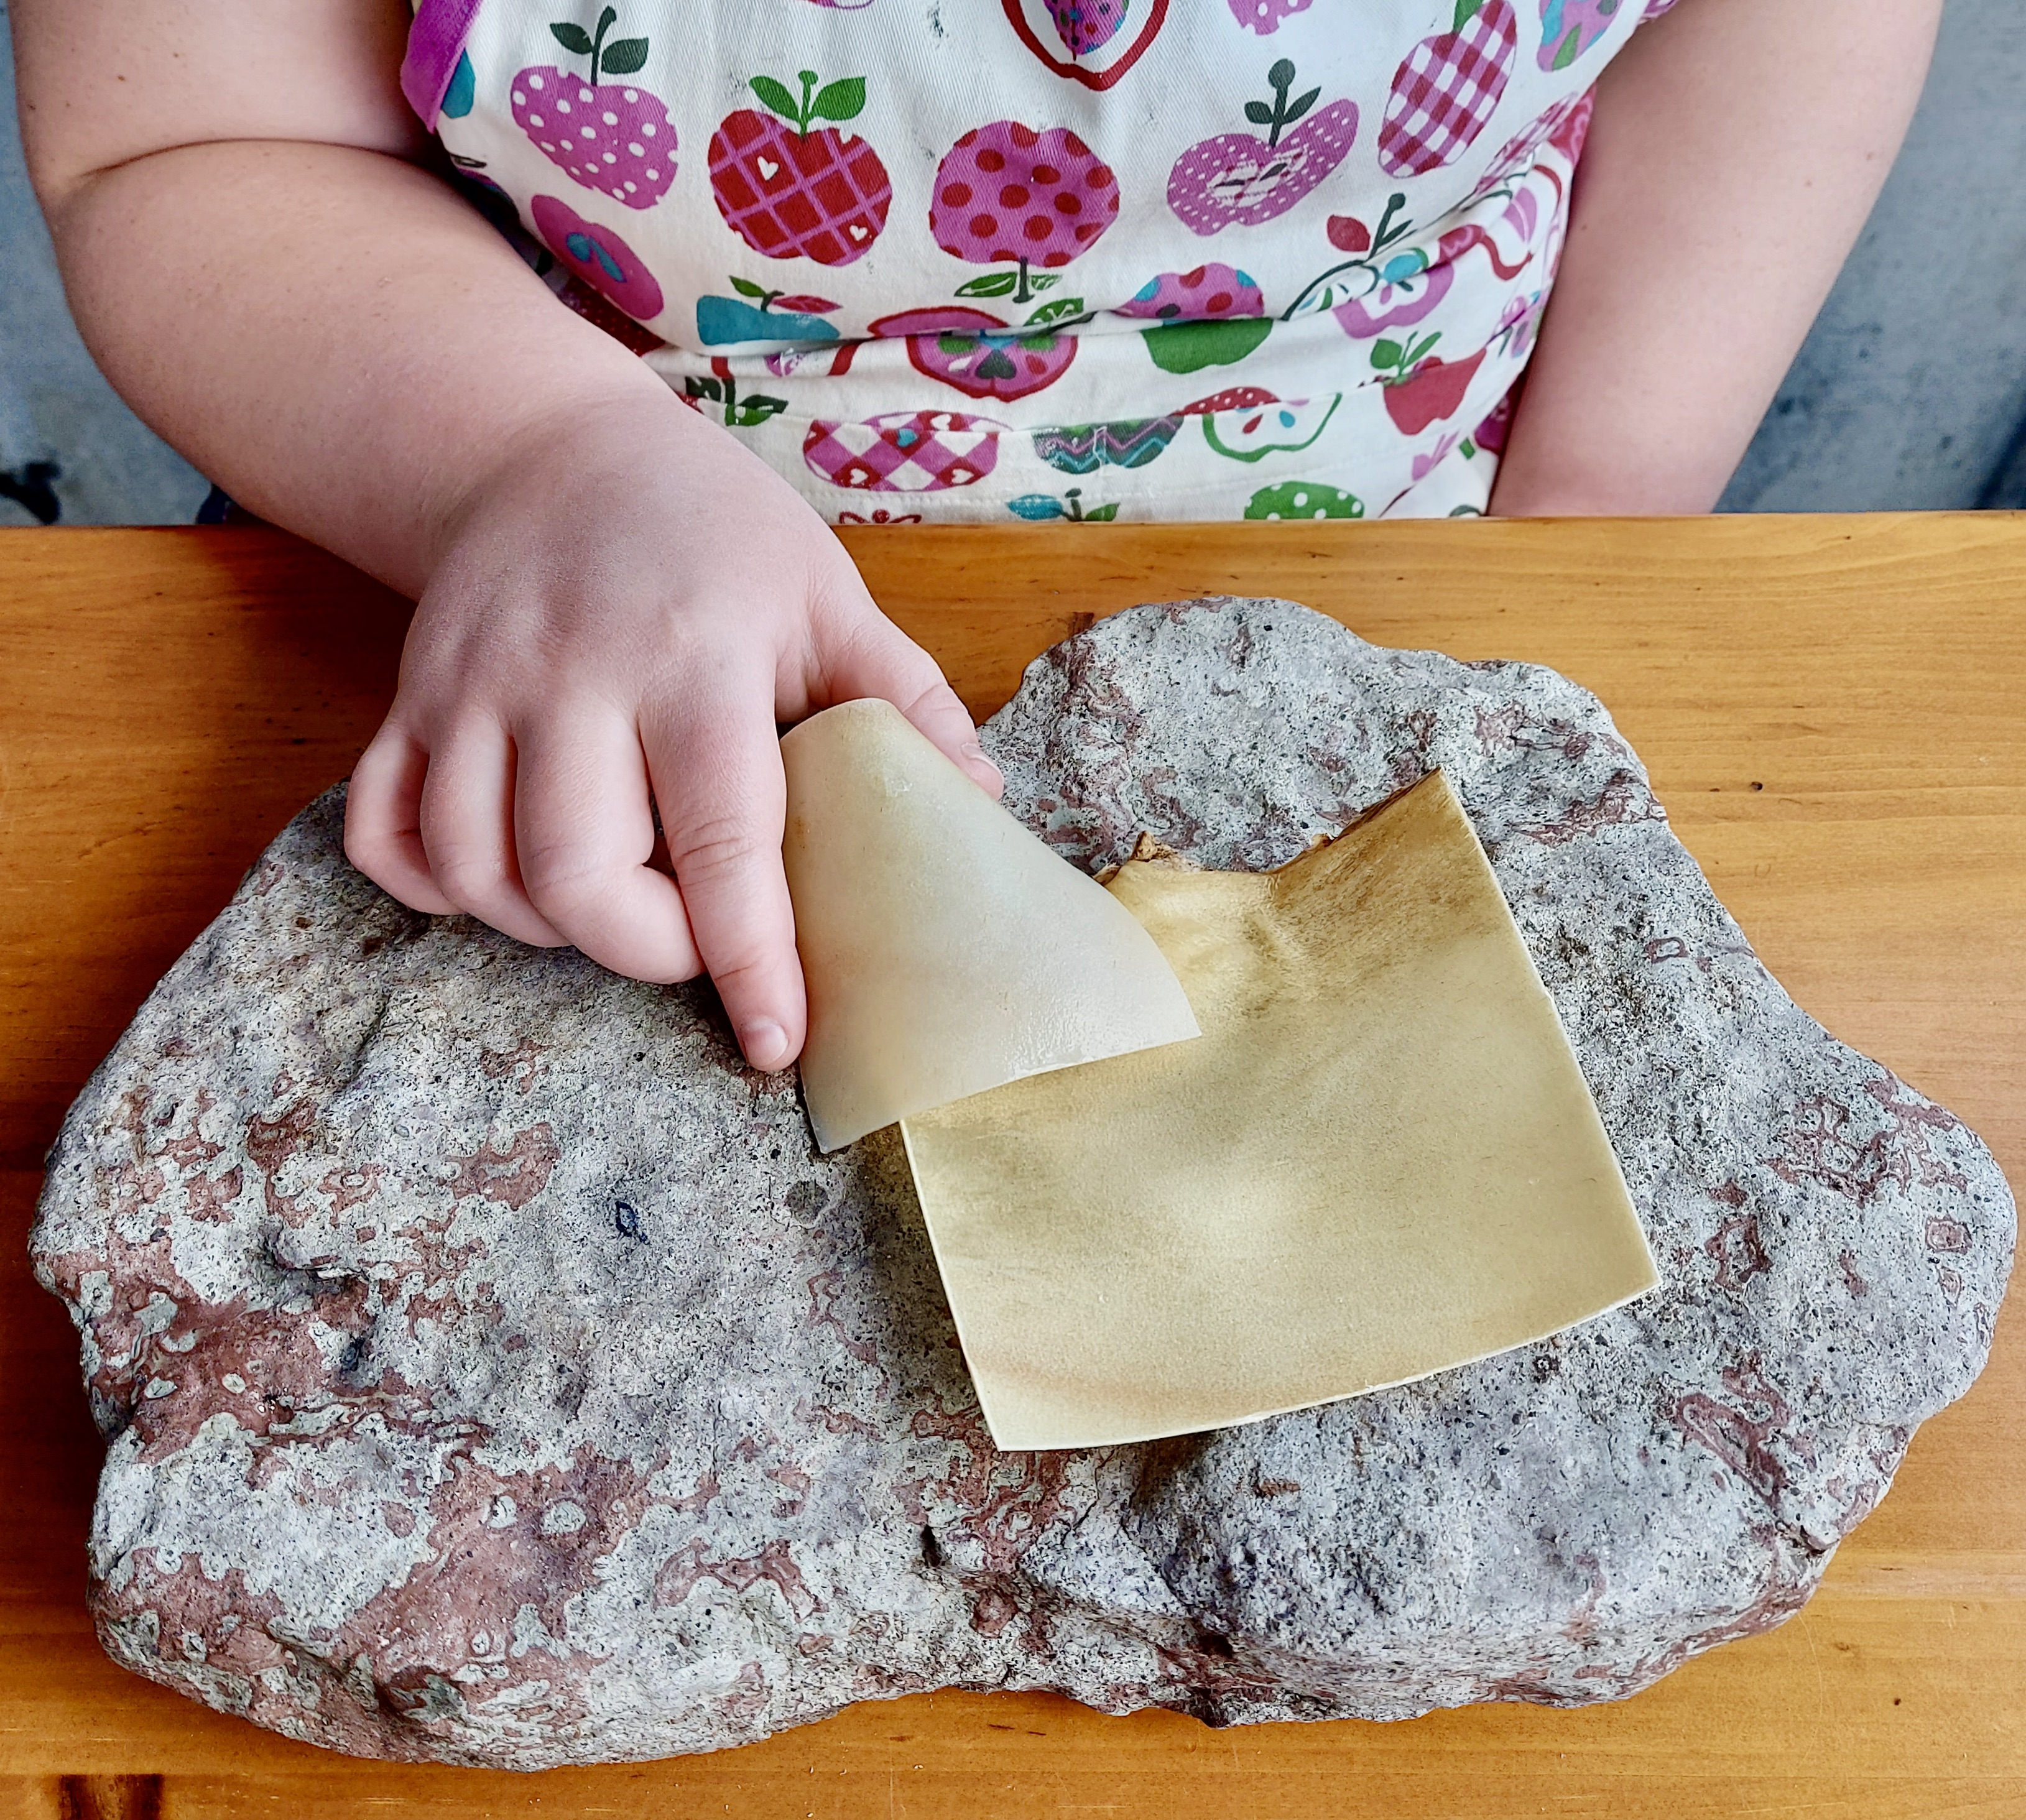
Step 2: Cutting the Rawhide
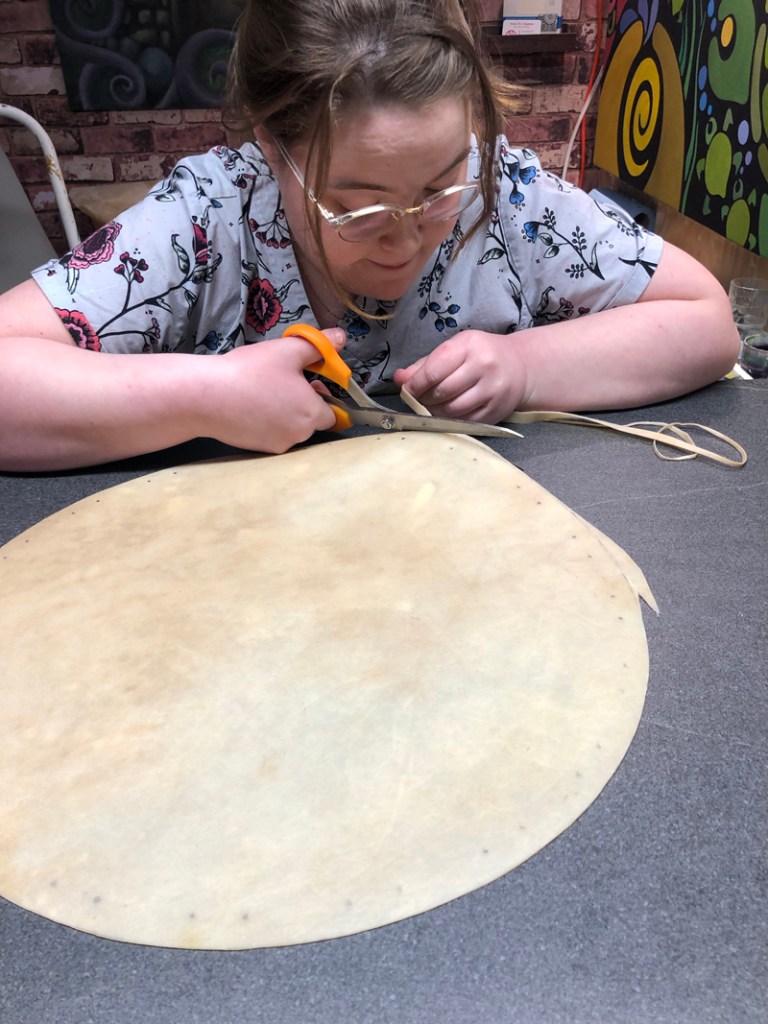
the Drum Frame
Cutting rawhide is fairly easy to do if the hide is thin. In this step-by-step guide, I am using opaque elk because this drum head will be painted. Elk and deer are from the same family. Deer is typically the more thin of the two. I will be posting another guide concerning the different rawhides, but for now a rule of thumb is: 14″D and smaller drums use deer or elk. In the photo at the top of this post, I am stringing a 14″ D drum with a coiled white cedar frame that I have painted. In order to cut thin elk, I find that using kitchen sheers or fabric scissors does a good job.
Step 3: Punching the String Holes

This step is quite simple, once you have the hole spacing figured out. After I mark on the dots for stringing the drum skin pleats, I use a leather hole punch. There are two hole punches that are readily available to purchase at craft and building supplies stores, they are: ones that work like scissors (as in the photo above), and punches that resemble awls that you hammer through the rawhide. The former is usually strong enough for deer and elk, but the latter may need to be used when punching moose and bison. Punching holes through rawhide is not like punching holes through note paper. Rawhide is fibrous, almost stringy. When it is soaked, it becomes thick and rubbery too. In other words, every hole punches differently from each other.
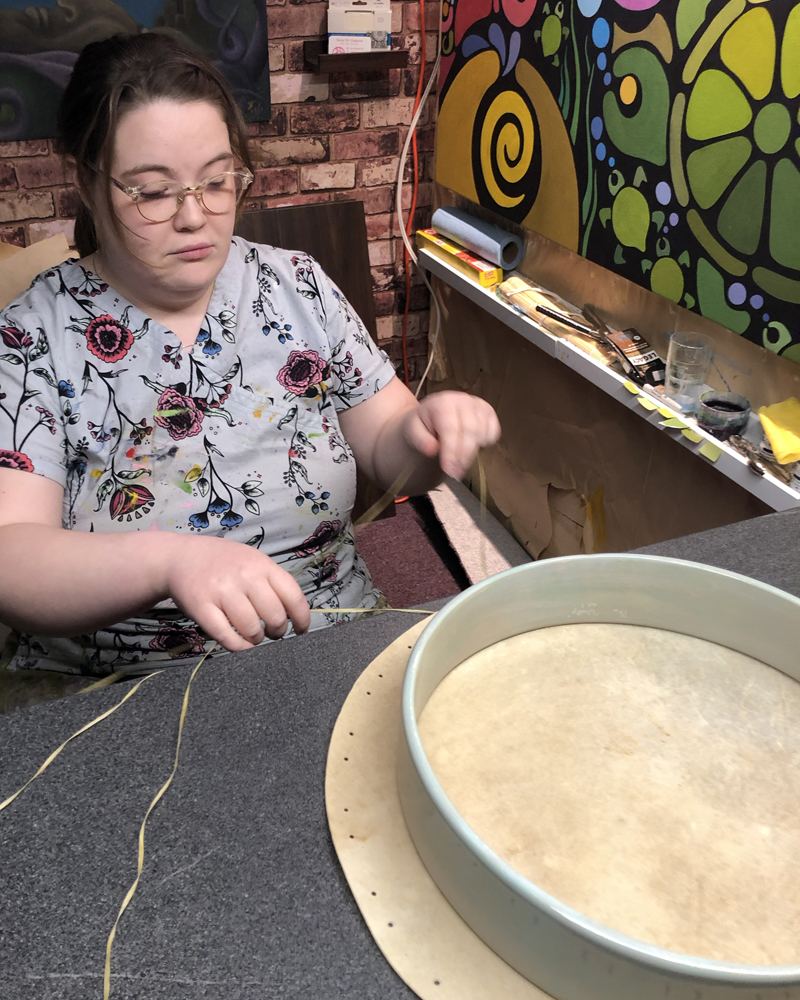
Step 4: Situating the Drum Frame

Before stringing, I check to make sure that everything fits and is evenly spaced. I place the finished drum frame in the centre of the cut and punched rawhide. To assure that it fits the way I want it to fit, I use a ruler and measure the distances between the frame and the edge. All the way around, there should be the same amount of rawhide outside the drum frame.
Step 5: Measuring out the Sinew
After Measuring Out Sinew String/Lace
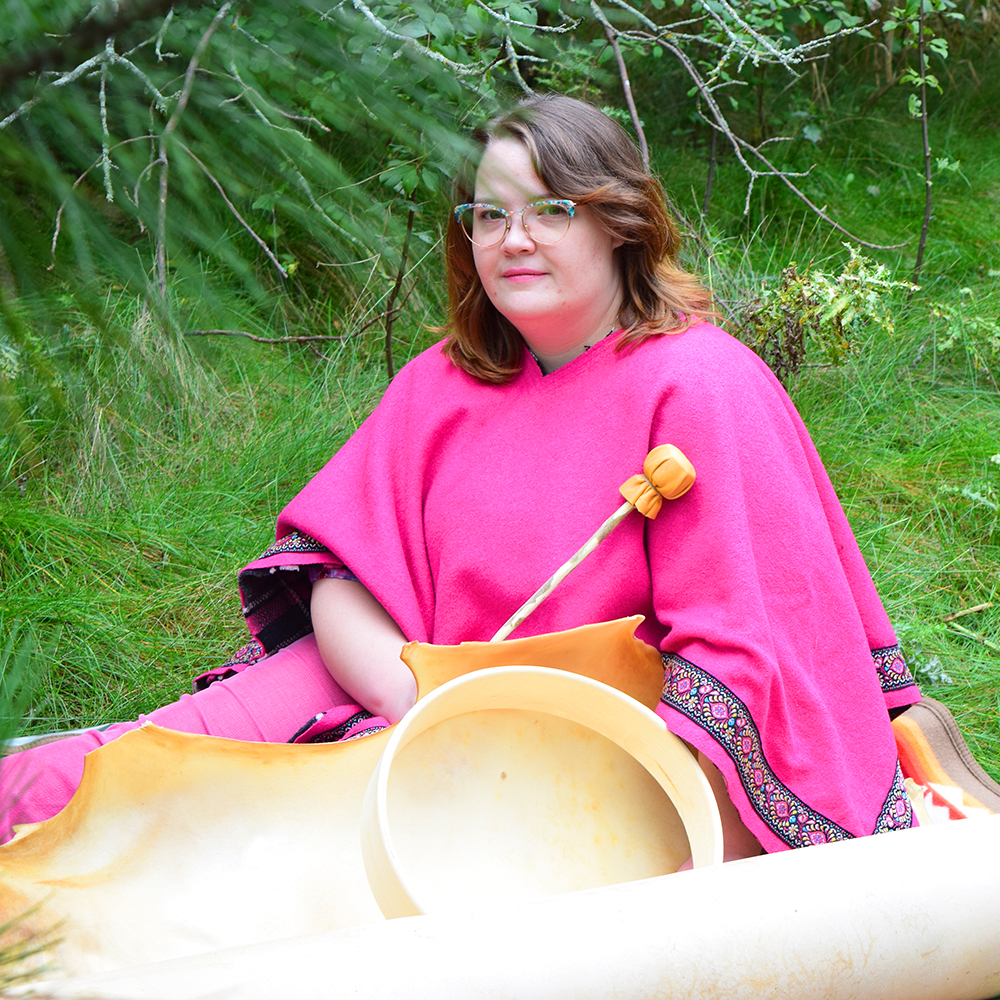
I use synthetic sinew for stringing. Some people call the sinew, “string,” and other people call it, “lace.” There are 4 types of string/lace, that are commonly used, they are: sinew (from a deer’s Achilles Tendon), synthetic sinew (buy by the spool), rawhide (thin strips that are cut from the perimeter of a soaked piece of rawhide), and rope for large moose, double headed, pow-wow drums. Measuring out the sinew is a tricky, nerve wrecking procedure. The length you need, needs to be one continuous strip. I measure about 5′ of string for every 1″ of drum frame diameter. So for a 14″D drum, I measure out 70′ of sinew. For a 24″ drum, I measure out 120′ of sinew. Also, just to be safe, I measure out another 20′ of sinew. I ran short once. I never want that to happen again. So now I wheel off extra! “Better safe than sorry,” as they say. This is the number 1 reason I use synthetic sinew. It is the best choice to use 120′ of continuous string.
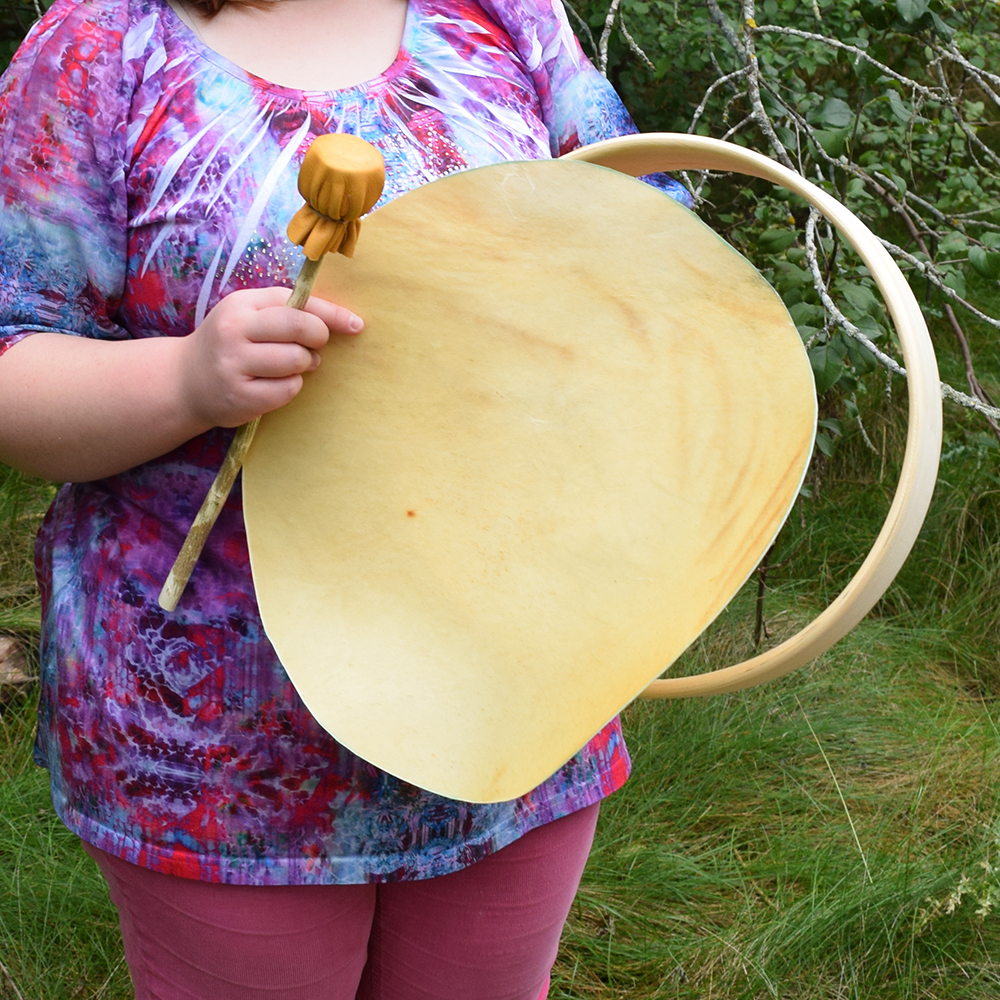
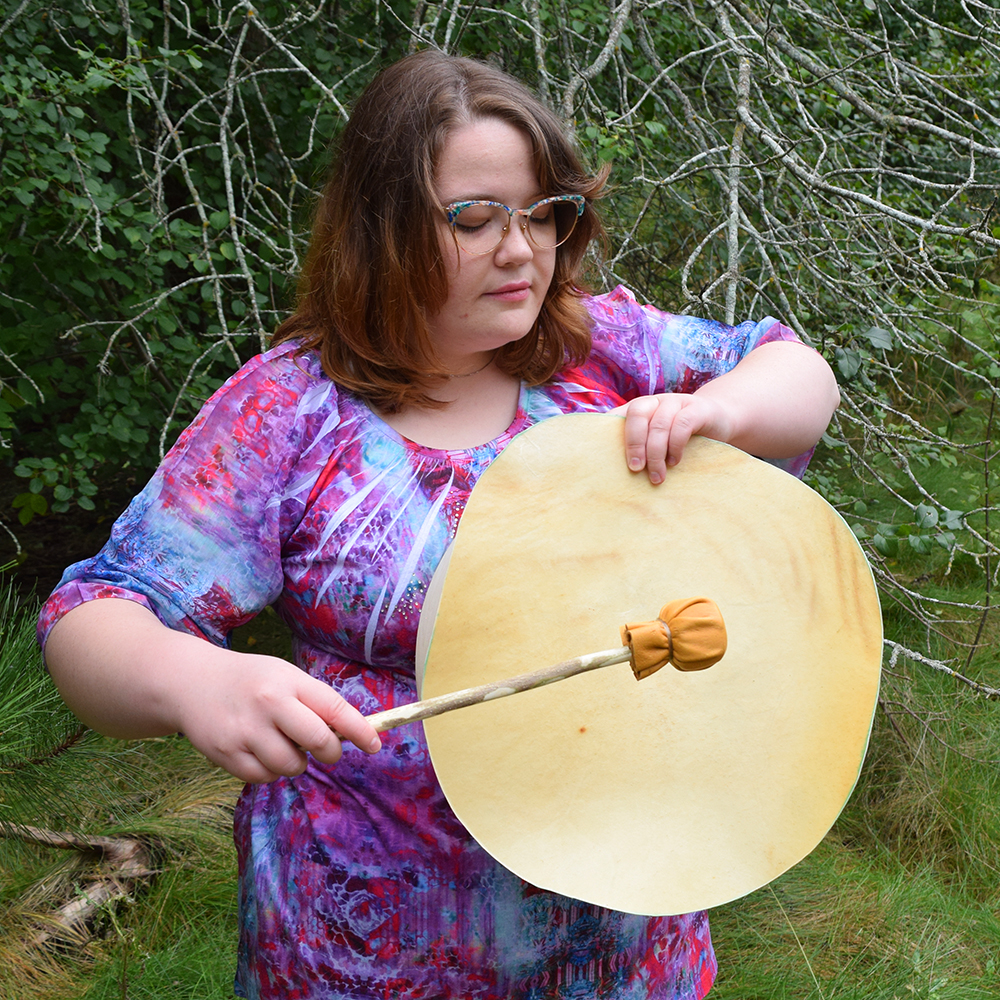
Step 6: Stringing the Drum
to Assure that the Drum Frame
has Remained in Place
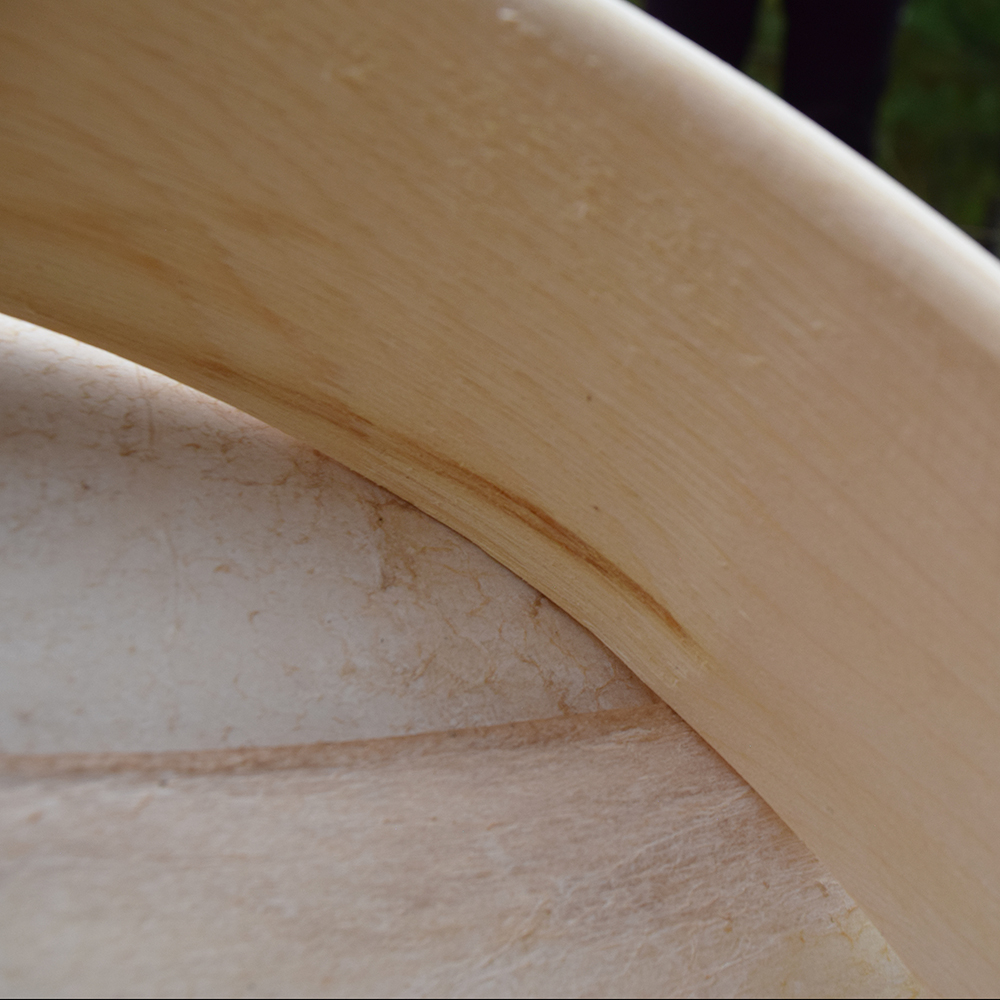
To string a drum, I pull one end of the string through one hole and then through the hole on the exact opposite side. Please note, I pull the entire strand through both holes, leaving about 2′ hanging outside the first hole. Then I continue to do the same, all the way around the drum, crossing the strings through the centre. In the image immediately above, notice that the string passes through the frame-side of the pleats (the two closest hole pairs). This allows for an attractive, elegant pleating of the hide. So when stringing, pass your needle through the outside of the hide, across the inside, and then through the inside to the outside. You’ll catch on. The practical reason I do this is due to physics. By pleating through two holes, rather than one, creates a stronger hold while applying less pulling on the individual holes. If you use one hole, you stand a pretty good chance that the rawhide will rip through. Believe me when I say: “YOU DO NOT WANT THAT!” Please note that I am creating a video to illustrate this more clearly and will be posting in the near future.
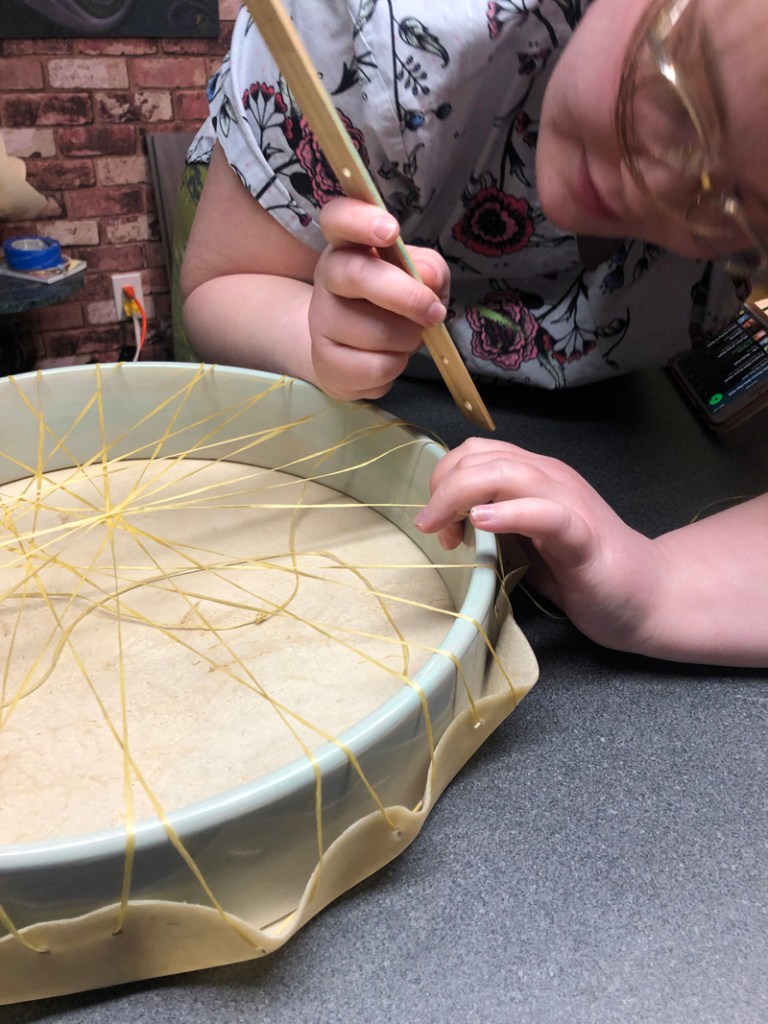
Step 7: Creating the Strung Spokes
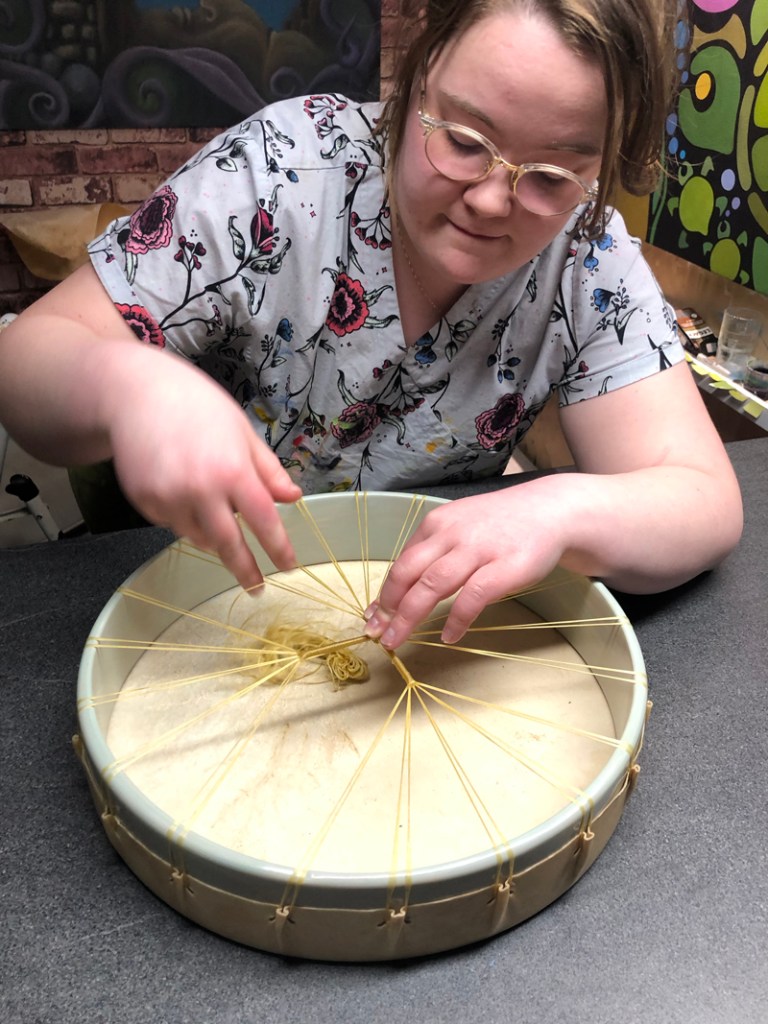
Before I begin with this step, take a look at how the pleats look after the rawhide has been stretched and strung. By stringing through the frame side of the pleats, a uniform pleating is created and the pulled holes are firm and uniform. If you want to make a premium drum, you will need to master this step with this method of drum stringing. Now onto the spokes. From what I can tell, in various traditions, the spokes are formed by wrapping cord, sinew, or deer hide. Locally, they are formed and wrapped using split deer hide. I prefer using the continuous synthetic sinew because it is strong and I prefer the appearance. So what I do is, I wrap the sinew around multiple pleat (forming) strings. As you can see in the photo, I am wrapping 10 strings (5 pleats’ worth) together. I wrap them as far up as I want to achieve the desired tightness of hide. When I reach the furthest point desired, I weave the sinew through the individual strings 3 or 4 times. This creates a basket weave appearance. I do this to anchor the spoke so that it won’t slide out of place. When the weaving is complete, I wind the sinew back down the spoke. Once the centre knot of the strings is reached, I wrap the centre knot a few times and pull it tightly. Then I proceed to create another spoke. Once all 4 spokes have been created, I knot off the string behind the main centre knot. At this point, the drum is complete. I then sit the drum in a dryish (50% humidity) location with good ventilation above and below the drum. In just a few days the drum is ready to be drummed.
Drum Stringing Materials & Costs
Materials you need:
– scissors ($10-$50)
– darning needle ($2)
– pencil ($1)
– paper and tape ($10)
– hole puncher ($30)
– finished drum frame ($100-$300)
– soaked rawhide ($300-$700)
– synthetic sinew ($30)
– patience (priceless)
Looking to commission an installation, mural, drum, illustration, painting or digital image?
I’d love to hear from you.


