How Po Makes Hand Drums, Portia Chapman, Uncategorized

How to Choose the Best Hardwoods for Making Drum Frames by Kingston Artist Portia Po Chapman

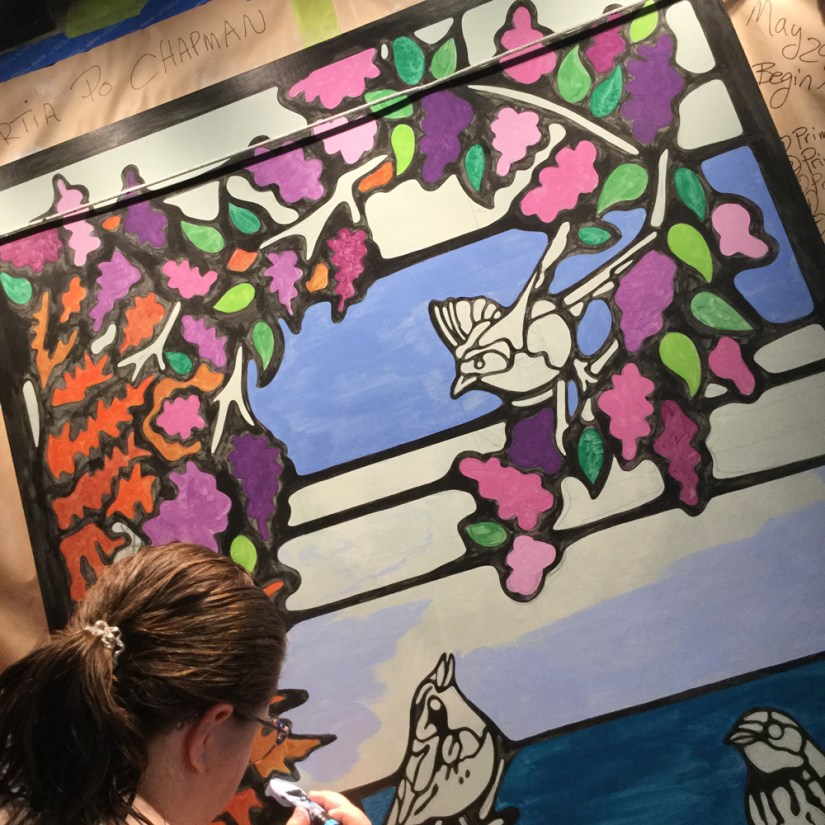
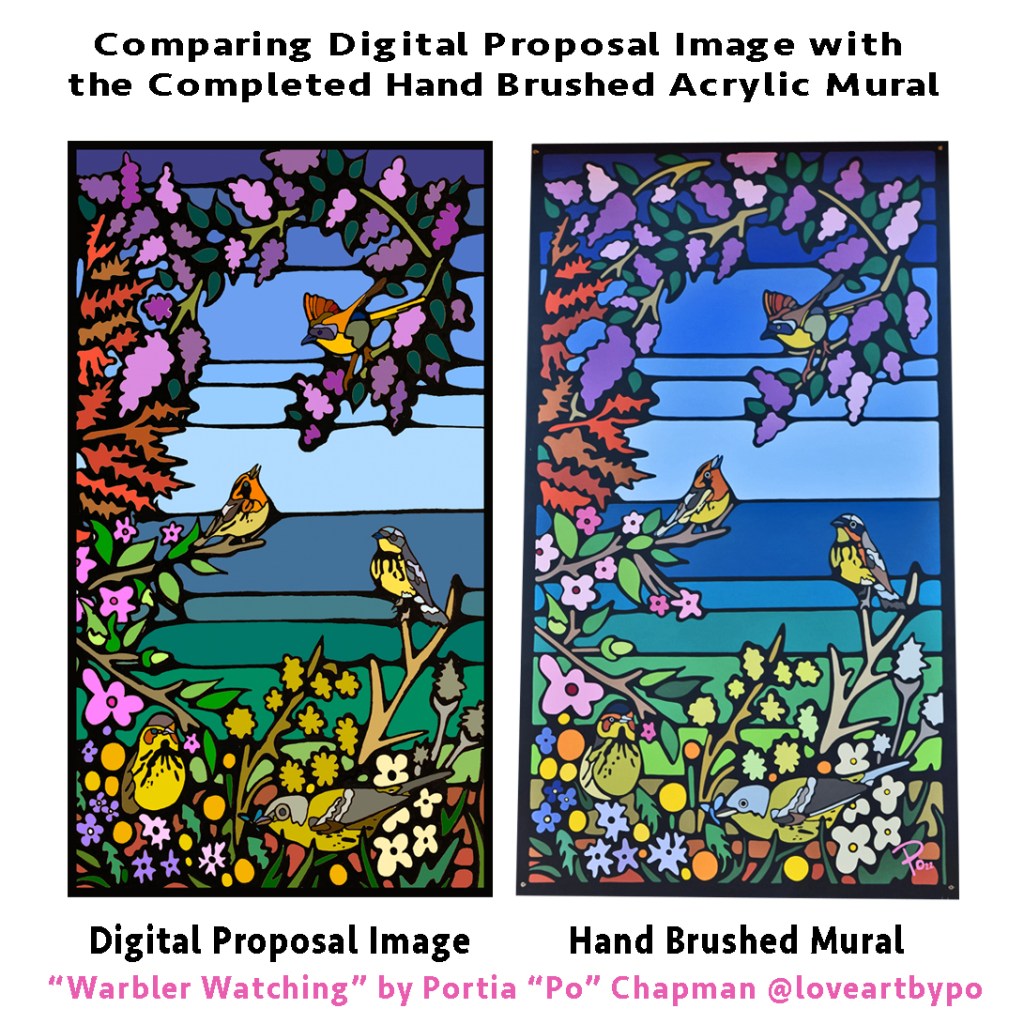
Po: “Selecting Hardwood is a Hard Task”

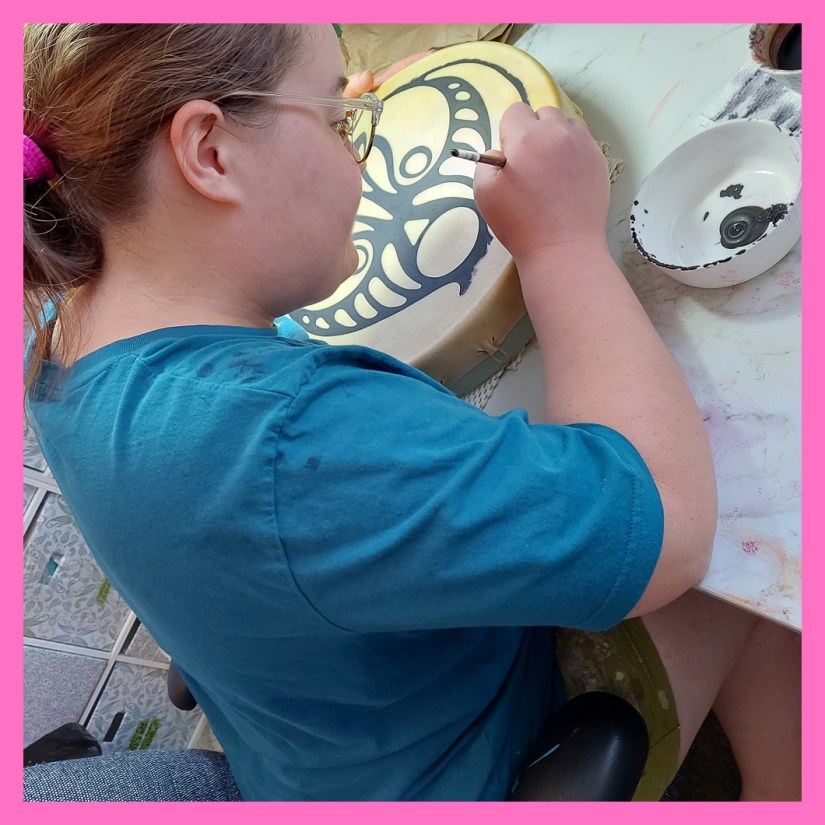
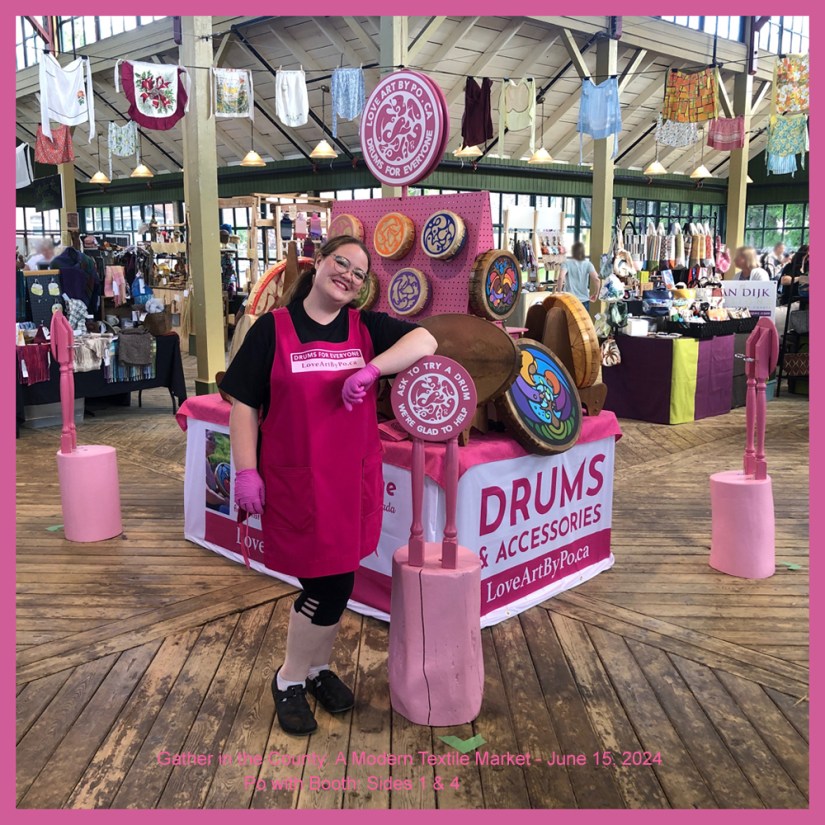
Hi, I am Portia “Po” Chapman from Kingston Ontario. I am an artist who hand makes unique frame drums. On this post, I will show you how to pick the best hardwood pieces for single-ply, steam bent drum frames. You’d think that it is easy, but it is not. Follow these steps and you will improve your chances of success.

Po Returning from Lumber Supplier

What Types of Wood are Best for Bending Drum Frames

My top 3 woods to use are: red oak, maple, cherry. I have not had much luck using white oak or walnut. All the research I have done, says that white ash is the best, but I cannot find a white ash supplier and the white ash drum frames that I have purchased from other suppliers have been economy grade. So for this article, I will address my preferred 3 woods mentioned above.

Po Sanding End Wedge of Red Oak Board
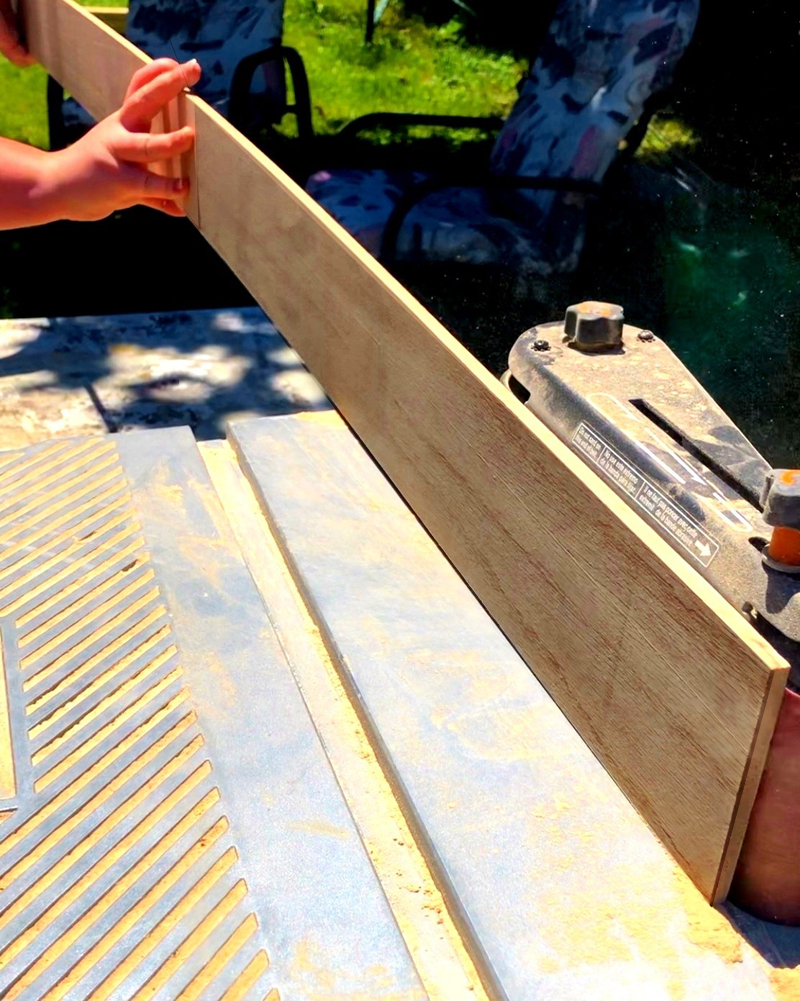
Before Steaming and Bending.
Notice the Long Grain Without Knots.

How to Choose Wood for Drum Frames

When selecting the lumber at the yard, be sure to choose wood without knots, splits, or swirling/wandering grains. All three of these characteristics will result in drum frames that crack and break while bending them into a drum shape. You want to pick long straight grains that do not drift off to the edges of the board. It will take you some time to find the ideal ones. Note: you pay the same price if they are in the same pile, so take your time to choose the most suitable ones.

What Size of Lumber to Buy for Drum Frames

The next thing with which to concern yourself is the board length and width. Most frame drums / hand drums range from 12″-16″ in diameter. To create drums frames of these diameters, you will require boards between 4′-6′ long. If you can afford it, however, purchase boards 7′-8′ long to assure that you can make drum frames after potential splitting during the bending process.
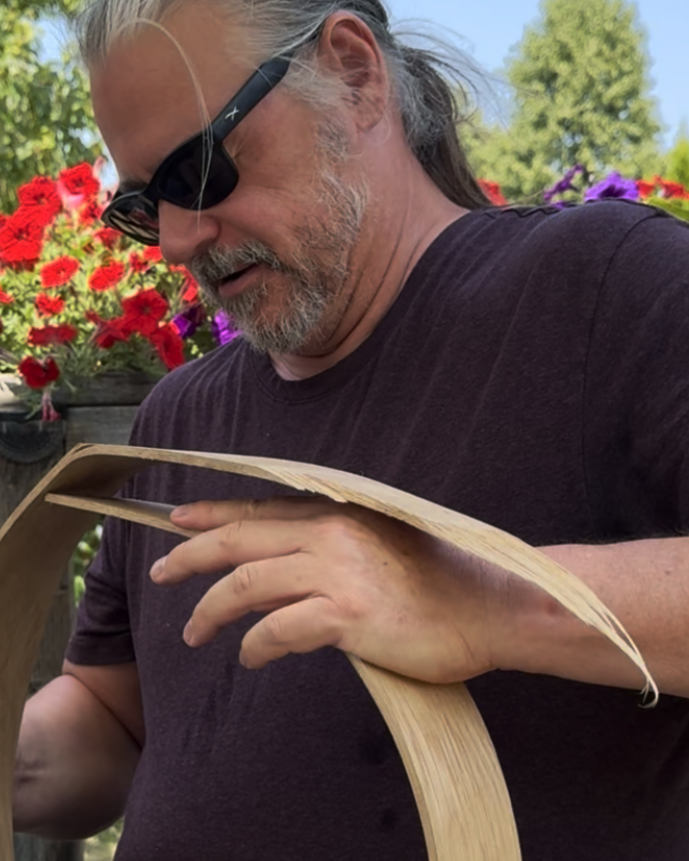
Notice How the White Oak has Snapped. In this Photo, Po’s Assistant is Compressing the Drum Frame to be Marked for Cutting. Be Sure to Have Enough Wood to Accommodate for Splits and Breaks During the Milling, Steaming and Bending Phases of
Frame Drum Making.

Recap – How to Choose Wood for Steam Bending Drum Frames

I choose Red Oak, Maple, or Cherry woods that have long straight grains and have no knots. My preferred stock is 1″ thick, 7′ long and 4″-6″ wide. In Kingston, these boards will run between $50 and $100 each. In short, making steam-bent hardwood drum frames is not a cheap art in which to dabble. At my private art studio in Kingston, I make rawhide drums from 8″-23″ in diameter and range in price from $200-$2000.


How Po Makes Hand Drums, Portia Chapman, Uncategorized

How to Make a Painted Drum: Kingston Artist Portia Po Chapman’s Method of Painting a Drum Face

How to Make a Painted Drum: Kingston Artist Portia Po Chapman’s Method of Painting a Drum Face
Portia Po Chapman Painting the Face of 14″ Elk Rawhide Drum: “Knowledge.”

Link to Phase 1: How Po Makes a Drum Frame
Link to Phase 2: How Po Works with Rawhide – Stretching and Stringing
Link to Painted Drum Page

Phase 3: How Po Paints the Face the Drums She Makes

Painting the face of a rawhide drum sounds much simpler than it is. The artist must keep in mind the nature of rawhide. Rawhide stretches and shrinks depending on humidity and temperature. Rawhide vibrates and flexes when it is drummed. Rawhide, is not smooth and sometimes has scars, hair, and wrinkles too. Most of all, each rawhide drum has its own sweet spots – where the drum sounds its best when drummed. Some drums even have multiple sweet spots and a couple locations whereby it makes a quiet sound when drummed. Therefore the paint needs to be thin, flat, translucent, and able to stretch. Po’s drums have addressed all of these issues in order to assure/improve longevity while enabling the drum to be drummed in both interior and exterior environments. When meeting the public at drum shows and art shows, Po is frequently told stories of paint cracking on drums made by other drum makers. Rest assured that Po drums every drum before selling them. Po also encourages clients to drum the drums before purchase as well. As far as the paint longevity – so far so good. Although many of the drums Po makes are sold to clients seeking works of art, Po still seeks to make beautiful drums that can be drummed. In short, whether you want to hang the drum on the wall or take the drum to a drum circle, the same amount of love and time is spent creating your masterpiece – and in so doing, every drum made by Po can be drummed. Po views drum making like this: “Why make a drum if you cannot drum it?!”

Po’s Phase 3 Drum Face Painting is as follows:

  • The image creation stage can happen overnight or as much as 3 months, it depends on the drum.
  • Usually Po will see an image in her mind while drumming the drum, but sometimes images visit her in her dreams.
  • Again, as strange as it sounds, Po says: “I just wait until I see what the drum wants me to see – and each rawhide is different.”
  • It is something like suddenly knowing what one will knit with the fleece that one has cleaned, carded, spun and dyed – each time is different – and so too is the sheep/goat that offered it in the first place.
  • Nature has a way of reaching through the noise and smiling upon us.
  • The image is sketched with a marker and then refined using a light table.
  • The flow of the lines begin to take over and the image you see appears.
  • The image is digitally cleaned up and a template is cut using a Cricut.
  • Upon the dry face of the rawhide drum, the template is traced using a 4H graphite pencil.
  • It is worthy to note that rawhide is a textile that varies widely in flexibility, texture, scarring marks and amount of hairs still present. This means that each drum is painted using a slightly different method.
  • Using a very special, flexible acrylic paint the images are lined (free hand brush painted) with “black” (if at all). The “black” is usually a deep, earthy purple.
  • Po thinly paints the images using #1 to #3 professional grade round acrylic or equivalent watercolour brushes. The images are not stensilled, stamped, or air brushed. The images are not stickers, which some people think because the painted images can appear to float due to the depth of the rawhide’s transparency.
  • Using Po’s innovative colour-blocking style, Po pulls apart the shades and hues. The result is an unblended image that invites the mind to seam together the colours in its own way. The images shift in different lighting conditions and when drummed, the image appears to leap off the face of the drum.
  • The image is briefly held up to an intense studio light, enabling Po to see where a second or third coat of paint is preferred.
  • Once dry, the painted face is lightly sprayed with a mist of archival UV resistant varnish.

I exhibit and sell the drums I make. Please contact me to purchase a completed drum of to discuss a custom hand drum made just for you. I am happy to paint you a drum with the image you choose or one that I create just for you. Custom images are from $250. Drums, with painted and not-painted faces, range from $200-$2000.

I look forward to fitting you with your drum.

Po Standing with Drum Booth
At the Gather in the County – Modern Textile Market – Picton, ON
June 15, 2024

How Po Makes Hand Drums, Portia Chapman, Uncategorized

How to Stretch and String a Rawhide Hand Drum: Kingston Artist Portia Po Chapman’s Method

How to Stretch and String a Rawhide Hand Drum: Kingston Artist Portia Po Chapman’s Method
Po Stringing Her 24 Inch Elk Rawhide Drum Entitled: “Nature in Me.”

Link to: Phase 1 of Drum Making is Making the Drum Frame
Link to: Phase 3 – Painting the Drum Face
Link to: Painted Drums Page

Phase 2 of Drum Making is Working with Rawhide: Soaking, Stretching, Stringing

In order to make a drum, there are 3 basic stages of working with the rawhide: Soaking, Stretching and Stringing. Although these stages can be rushed, to achieve a premium drum that sings beautifully, it takes a lot of time, care and love. Hence, from receiving the rawhide to completing a playable tuned instrument, it takes about 1 month, sometimes longer. In my studio, I do all of the steps below. Please note that I do employ a shop hand to help detangle sinew when I am stringing large drums, like the one in the above image, because a 24 inch diameter drum requires a 100+ feet long continuous strand of sinew .

Phase 2 of Drum Making: Working with Raw Hide

  • Purchase sustainable rawhide that supports Indigenous communities across Canada.
  • Build relationship with the hide.
  • Humidity condition hide in the hide room.
  • Po waits for the hide to “speak” to her – it may sound strange but the hide will choose to make a drum or a drum will not be made. Working with rawhide requires patience and a lot of love.
  • Once the hide is ready to make a drum and make its voice once-again heard, Po introduces the hide to the frame options – this is a beautifully mystical step in Po’s drum making process whereby a holistic, earthy bond is made between wood, rawhide and drum maker.
  • With the marriage of drum frame and drum skin, Po designs a drum skin template with the number and placement of stringing pleats marked.
  • The rawhide is rough cut to match the shape of the template.
  • The rawhide is cleaned, scrubbed, pealed , rubbed and polished.
  • Sometimes the rawhide requires a sunshine bath or controlled UV bath.
  • Using a galvanized wash tub, Po soaks the rawhide for 24-48 hours in a rain water bath as the rawhide is kept submerged using special quartz and/or citrine rocks that she found while diving in her childhood lake.
  • Once the rawhide has become thick and pliable, it is removed from the water and rubbed with a soft terry towel. It is then cut to the shape of the pre-designed template.
  • String holes are punched (Po’s premium drums have between 16 and 30 pleats).
  • Of synthetic and waxed sinew, Po measures out about 5 feet per pleat – yes 80+ feet.
  • The frame is laid onto the underside of the rawhide and Po begins the lacing process.
  • As you can see in the above photo, generally, Po strings the drums by putting the string through two holes (to make pleat) on one side of the drum and then does the same on the exact opposite side of the drum. Po uses more decorative / ornate stringing patterns when stringing Po’s non-circular hand-bent drums.
  • Using a darning needle to string a drum, it takes Po between 2 hours and 8 hours of hand stitching, winding and wrapping the sinew as she pulls the rawhide into place. It can be tricky, when stringing large drums, because the hide begins to dry and become stiff within 30 minutes of being removed from the water. Aligning the timing of stitching and drying is possibly the most difficult thing for a drum maker must grow accustomed.
  • At this step, Po has found that the hide wins the tugging process. No matter how even the rawhide edge is originally made by Po, the rawhide will pull it to where it wants – resulting in a less uniform rawhide edge around the frame. Synthetic skin head drums do not present this challenge.
  • It is also worth noting that each animal and species’ rawhide pulls differently – and the spinal ridge pulls differently from the belly region. This takes a long time to get used to. In the case of working with rawhide as a textile, Po has had to relax and work with the rawhide, rather than demanding that it behave as she may want it to.
  • The drum is placed on the drum drying racks and is dried in a 50% humidity controlled space.
  • Once the drum is dry, it is taken out into the sunlight and drummed.
  • Po sings, chants and drums the new drum as they both rejoice. It is a seemingly miraculous happening.
  • Sometimes the general pitch of the drum is determined by drumming it beside a well tuned 1950’s Heinzman piano.
  • You cannot get use to the moment when the rawhide seems to come back to life and express its own voice and connection with the drummer.
  • The drum’s pulse throbs upon the breeze.
  • The ethers rejoice and the heart smiles with an air of wellness.
  • The central sinew knot at the back of the drum is then waxed. To try the drums, Po has people use nitrile gloves. When the drum is paid for and drummer is ready, the drummer’s glove is removed. At that time, the drummer & drum imprint. Their bond is marked by the drummer’s hand print pressed into the beeswax.
  • The drum is then cared for and sung with in the humidity controlled studio until it is to have a painted face (if it is ever painted – some drums refuse to be painted while other drums seek to be painted).
  • Another phenomenon then occurs – the drum picks the drummer at exactly the same time as when the drummer picks the drum. The moment of bonding is nothing short of magical.
  • Premium drums made by Po are very, very special – and premium special drums cannot be rushed.

I exhibit and sell the drums I make. Please contact me to purchase a completed drum or to discuss a custom hand drum made just for you. Drums range from $200-$2000.

I look forward to fitting you with your drum,
Po

Po Standing with Drum Booth
At the Gather in the County – Modern Textile Market – Picton, ON
June 15, 2024

How Po Makes Hand Drums, Portia Chapman, Uncategorized

How to Make a Drum Frame: Kingston Artist Portia Po Chapman’s Method

How to Make a Drum Frame: Kingston Artist Portia Po Chapman’s Method

Portia “Po” Chapman Hand Rubbing Paint into Cedar Drum Frame

Link to Phase 2 of Drum Making: Working with the Rawhide
Link to Phase 3 of Drum Making: Painting the Drum Face
Link to Drum Page

Phase 1 of Drum Making is Making / Preparing the Drum Frame

A drum frame takes me about weeks to make from start to finish. In my studio, I do all of the steps below. Please note that, I do employ a shop hand to help clamp and bend the steamed wood – this requires 2 sets of hands.

  • Purchase wood
  • Cut wood to desired thickness
  • Plane the wood smooth
  • Sand ends into wedges
  • Soak wood in the sun for 3 days
  • Steam the wood in the steam box
  • Rough bend the wood under boots
  • Shape flexible wood
  • Glue and clamp wood
  • Let wet wood dry 3 days
  • For coiled wood frames, the wood is planed very thinly and before gluing the coil is created by clamping and re-bending more tightly 3 times over a week’s time.
  • For both the hand bent in-studio frames and rough pre-coiled frames, the following steps are the same
  • Sand the frame to desired shape, thickness and smoothness
  • Paint, rub, dye or stain frame
  • Polish and finely sand frame
  • Varnish

I exhibit and sell the drums I make. Please contact me to purchase a completed drum of to discuss a custom hand drum made just for you. Drums range from $200-$2000.

Po Standing with Drum Booth
At the Gather in the County – Modern Textile Market – Picton, ON
June 15, 2024

Back to Painted Drums Page

Contact: portia@loveartbypo.ca

Portia Chapman

How to Make a Paper Snow Globe – Po’s Arts and Crafts Corner

How to Make a Paper Snow Globe – Po’s Arts and Crafts Corner

Kingston Artist Portia Po Chapman Snow Globe Craft taught at Agnes Etherington Art Centre Creation Station How to Make a Paper Snow Globe

At the Agnes Etherington Art Centre Creation Station we made paper plate snow globes. The following is a print out sheet that you can use at home or school. The craft is intended for JK+. Adult supervision and assistance may be required. Have fun!

Portia Chapman

How Portia Po Chapman Made the Mural Warbler Watching for Base 31 Picton

How Portia Po Chapman Made the Mural Warbler Watching for Base 31 Picton

Portia Po Chapman Posing Beside Mural “Warbler Watching” at Base 31, Picton

The above images compiled some of my research prior to designing the mural. I like to immerse myself in the space, story or activity that I am painting. These photographs were take in early May 2022 during the Prince Edward County Birding Festival along Long Point Rd. You can see how my visit influenced the subject matter that I chose to include. The photograph immediately below was taken at the Lookout. As soon as I stepped out of the car, the green in the lake was awe inspiring. I knew at that time, I would paint the lake and sky in the background. Prince Edward Point is so beautiful, one cannot help but paint and/or photograph the landscape and waterscape.

As you can see, the above photograph inspired the composition of the mural. The image below is my initial pen and ink drawing on paper. There were many lilac bushes along Traverse Ln too. However, they had not yet bloomed as depicted in the drawing below.

The image, immediately below, is the digitally coloured rendering of the above pen and ink drawing. Since the mural proposals were rigorously assessed by a jury of artists, the proposal image was to depict the final mural as closely as possible. You can see that the actual mural mounted at Base 31 in the Aviators Garden is very similar to the proposed image. When commissioned to create a piece of art, I try to produce what the client had first desired to have in the beginning. In this case, supply chain issues made paint colour duplication a very challenging hurdle over which to leap, but I came close.

The initial digital sketch created from the hand drawn planning image.

The series of images below were taken in my Bay of Quinte studio.

Before drawing the image onto the MDO plywood, I primed the board 2 times – front, back and sides – sanding between coats on the front and edges. Then I caulked the edges and levelled them off smooth with a trowel. Again, once dry, I sanded and then sealed. The face of the board, in the first image, is slightly green because I had the bright white primer tinted. This made the process of drawing and painting a much more peaceful and enjoyable experience. Because my style features smooth, flat colour blocking and draping deep lines elegantly pulled by a variety of brushes, the mural ended up having about 5 coats (7 including the primer coats) of exterior translucent paint using a clear base. You can notice how the first coat appears to be streaky but the objective for the first coat is to capture the flow of the desired image while assuring minimal brush stroke ripples. The thinner the first coat, the better. For exterior murals such as this one, I prefer painting multiple thin coats to assure durability.

My Mom and I Carrying Out the Mural On Delivery Day. Having a Studio at the Top of a High-rise Overlooking the Water Can Present Some Challenges.
I Can’t Wait to Move into My New Studio
Where Clients Can Readily Visit!
“Warbler Watching” by Portia Po Chapman – 36″X64″ – Exterior Acrylic on Exterior Signboard Plywood

I find such joy standing beside my artwork after it has been installed on the desired site. This photo was taken at Base 31 in Picton, Ontario, during the Aviator Garden murals’ unveiling event.

For art commission inquiries, please visit my About/Contact page. I would be thrilled to create a piece for you.

To read about my experience at the mural’s unveiling ceremony at Base 31 click on this link: Portia Po Chapman Mural “Warbler Watching” – Photos of Unveiling Ceremony in Aviator’s Garden at Base 31 PEC, Picton, Ontario, July 9, 2022