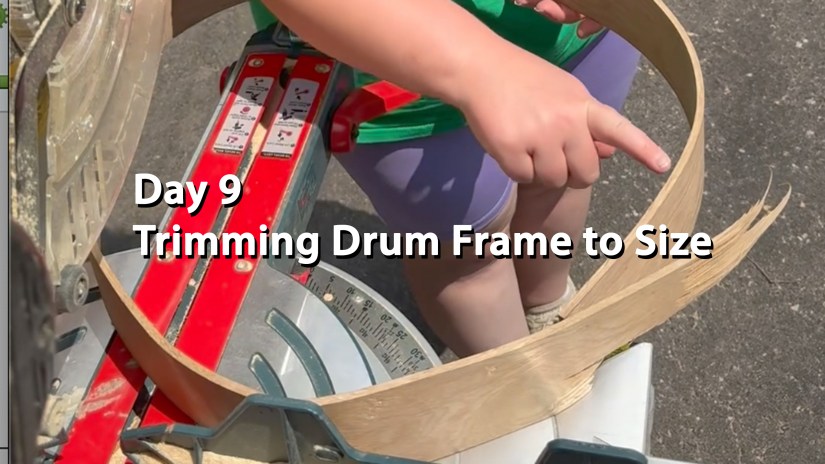
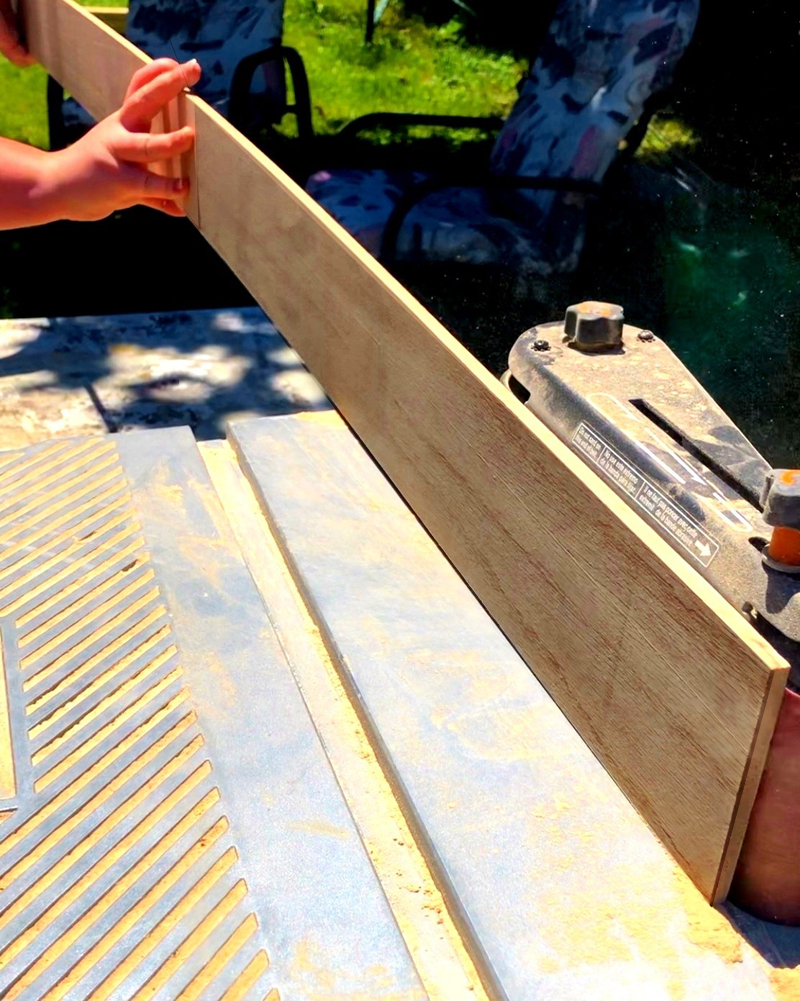
Po trims the white oak to the desired drum frame size at her Kingston Art Studio
Kingston Artist, Portia “Po” Chapman trims the white oak drum frame to size at her studio.
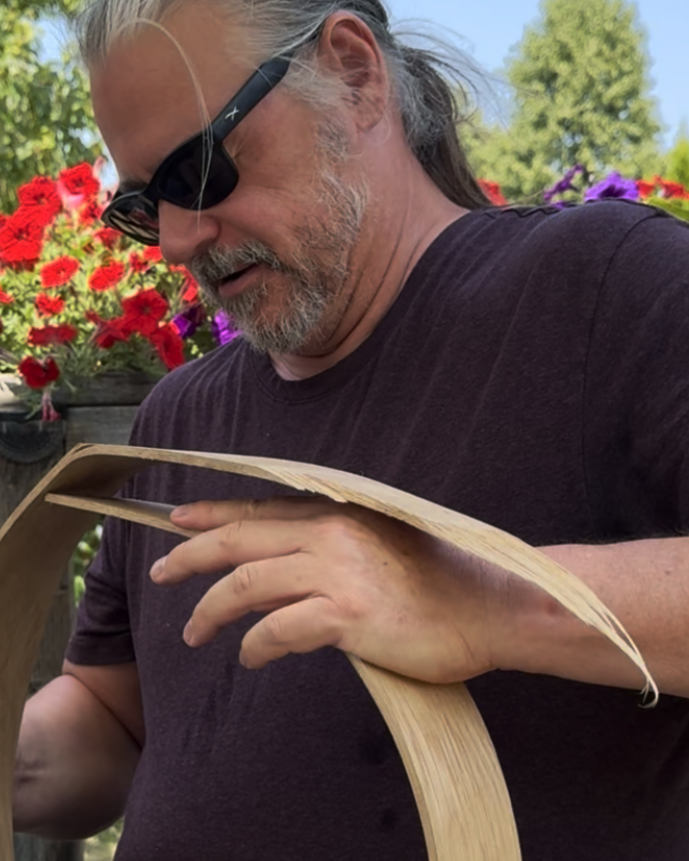
On day 8, my trusty assistant compressed the dry bent oak to the size that I wanted for the finished drum to become. As he held it in place, I marked the board with a pencil. Day 9, also marks the mid stage of drum frame creation.
Once we cut off the white oak at yesterday’s pencil markings, we will see the drum frame coming into its drum shape for the first time. I have a smaller trim miter saw, but I prefer using my 12″ chop saw with a trimming tooth blade installed. The larger blade alleviates the fiddliness of cutting the large hoop with a small blade.
Oh, and this trim will remove the breakage that we found on day 6. Phew!
Come back tomorrow, Day 10, when we move on to our next stage of drum frame creation: gluing and dry-bending. The next couple days are going to be exciting; we are on the homeward stretch now.
Come back tomorrow for Day 10 – when we apply the glue. There are 4 types of glue that we can use, I will explain the options on Day 10.
New to the blog? Read more about Po and her art here.
On Day 8 of Drum December, Po’s assistant compresses the bent oak while Po marks the board where she will cut it on Day 9.
Thank you for watching along as we engage on this drum making adventure. This is the first time that I have made a white oak drum frame and as you can see, it has been an adventure.
On Day 8 of Drum December, my assistant and I prepare the steam-bent white oak which is to be cut off in order to create my preferred drum diameter. The reason I mark the wood this way is because the best sounding drums have the least glue. So by marking it with both ends overlapping, I can judge how large the completed joint will become. I aim for a 2″ drum frame joint when the drum is complete.
For more information about Love Art by Po drumssee here.
The Art of Compression Without Snapping the Frame
The process of compression without snapping the frame is exceptionally nuanced and requires much attention. This is the reason why I prefer dry-bending the final bend. The stunning personality of every piece of milled and bent timbre is felt as the compression reaches its limit. I have tried mechanical bending methods but those methods remove the connection with the fibres, and this process needs to be gentle and understanding.
Hugging Drums is Like Hugging Trees
Just because a tree is cut down and made into lumber, it never stops being a tree. I grew up listening to trees. For 18 years of my life, they sheltered me, comforted me, and taught me ancient lessons of beauty and strength. I met my ancestors as they stooped down, inviting me to sing as their branches drummed a beat for me to follow. In my second year of my BFA, the apple tree, that I used to climb as a child, died and began falling to the ground. In a way, I felt to blame for its loss of health.
You see, I left it in the field when I went away to University. So for my first large sculpture installation, I gave it back its voice by sculpting it back to its life giving form – even with birds nests and robin eggs. I could once agin hear it whisper. In the spring, when I returned to the field, the apple tree, at the very top, was growing leaves reaching to the sky. Today, as I make frame drums, it is my way of giving back to the trees – to hear their voices sing again. For me, I feel blessed to be a drum maker. It is a calling. It is LIFE! When shaping drum frames, I hug them just like I hug trees still able to stand. Every drum frame is realized out of love and respect. To read more about Indigenous relationships with trees, follow this link. But please come back.
Gentleness Guided the Bend
For the compression, you will notice in the video, my assistant has rested the white oak on his lap. By doing so, he makes full contact with both sides of the new drum frame shape. He can feel the oak tighten and relax. He makes it look so easy after many years of woodworking, but this critical step truly requires inner stillness. After all, I learned to hug trees because of him. As he bends it, he can hear the oak say when it has coiled enough. Just as it reaches its chosen limit, I can sense it too.
This white oak, has required understanding more than the other hardwoods. But, when it reached its bend limit, instead of screaming out, it gave a relaxed sigh of relief, like it said: “Finally back home.”
Marking the Board
Due to the length of the video, it is unclear where I marked the piece. In this case, I marked it in two locations. Often, I do one continuous mark across both edges. Again, this is not a science. I wish that I could give a clear instruction, but it really is again about… Knowing the right spot(s).
When I set out to write this post about this seemingly simple bend and mark, it was not my intention to share the spiritual, soulful relationship of bending drum frames. I guess, the ancestors thought that it was a good time to remind us that drum frames and drums are just as much part of this life as they were as trees. Please know that when you buy (adopt) one of the drums that I make, your drum has been nurtured into existence with care.
Come back tomorrow for Day 9 – the painful moment of cutting the frame to size.
[…] To solve this, I developed a proprietary dry-bending technique. The wood is pre-bent and shaped before the glue is ever applied. You can see the foundation of this technique in my previous posts: Day 5, Day 7, and Day 8. […]
The Bendy Test — Po checks the flexibility of her sun-steamed hardwood before shaping it into a drum frame.
Today, Po reveals the next step in her innovative sun-steaming process — the moment when three days of sunlight, water, and patient preparation finally transform kiln-dried hardwood into a material that is ready to bend.
Testing the Wood After Three Days of Sun-Steaming
Today marks the moment when Po checks the results of the full three-day sun-steaming cycle. In yesterday’s post, we watched her begin this method by sliding the hardwood into the long ridged tube and filling it with water to let the sun do the work. By this morning, the fibres within the wood had warmed, expanded, and begun to relax. Now it was time to see whether the wood had softened enough to become flexible — or whether it needed more time in the sun.
After pouring out the steaming water, Po slid the hardwood out of the tube and laid it gently on the grass. The board emerges from the tube hot, ridged, and stiff — the opposite of what you might expect from a piece of wood that will soon become a circular drum frame. But this is where Po’s ingenuity comes in.
Still too hot to handle with bare hands, Po begins a technique she discovered through experimentation: walking on the wood. Wearing proper shoes, she carefully steps along the length of the board, back and forth, allowing her weight to massage the fibres into motion. The grass protects the surface from dents and provides the perfect soft foundation for the wood to ease into its new flexibility.
For about five minutes, she continues this rhythmic movement — a sculptor’s touch expressed through her feet rather than her hands. And then comes the test.
With one foot still grounding the board, Po gently lifts the opposite end.
In today’s video, you can see the moment the wood answers.
It bends — cleanly, smoothly, willingly.
This once rigid hardwood is now supple enough to be shaped into the elegant circular frame of a drum. What seemed impossible only days before becomes possible through Po’s blend of patience, innovation, and the natural power of the sun.
Tomorrow, Po will continue the transformation as she prepares the wood for its first bends toward the circle it is destined to become.
Drum December unfolds one authentic, beautiful step at a time.
[…] how beautiful the Drum December drum turned out. This where we started with Drum December. You can learn exactly how we crafted this instrument by visiting the previous 20 days of the […]
Organic Colour-Blocking Murals in Kingston | Contemporary Hand-Painted Art by Po
Kingston homeowners are increasingly choosing original, hand-painted murals over traditional prints or wallpaper. Why? Contemporary interior design trends incorporate murals because they are more than decoration — they are living, breathing elements of your home.
My style, organic colour blocking, uses precise brushwork to create vivid, flowing shapes and razor-sharp edges. It’s contemporary, sophisticated, and impossible to replicate digitally or with spray cans. Each mural interacts with the light, architecture, and atmosphere of your room.
Benefits of organic colour-block murals for Kingston homes:
Custom fit for your space: Every curve and colour is tailored to your room, wall, and lifestyle.
Adds personality: Your mural reflects your taste, energy, and story.
Timeless impact: Hand-painted murals remain striking for years, unlike printed designs that can fade or feel flat.
A mural in your foyer, living room, bedroom, or studio is more than art — it’s a statement. It changes how you feel in the room, how you move through the space, and how visitors experience your home.
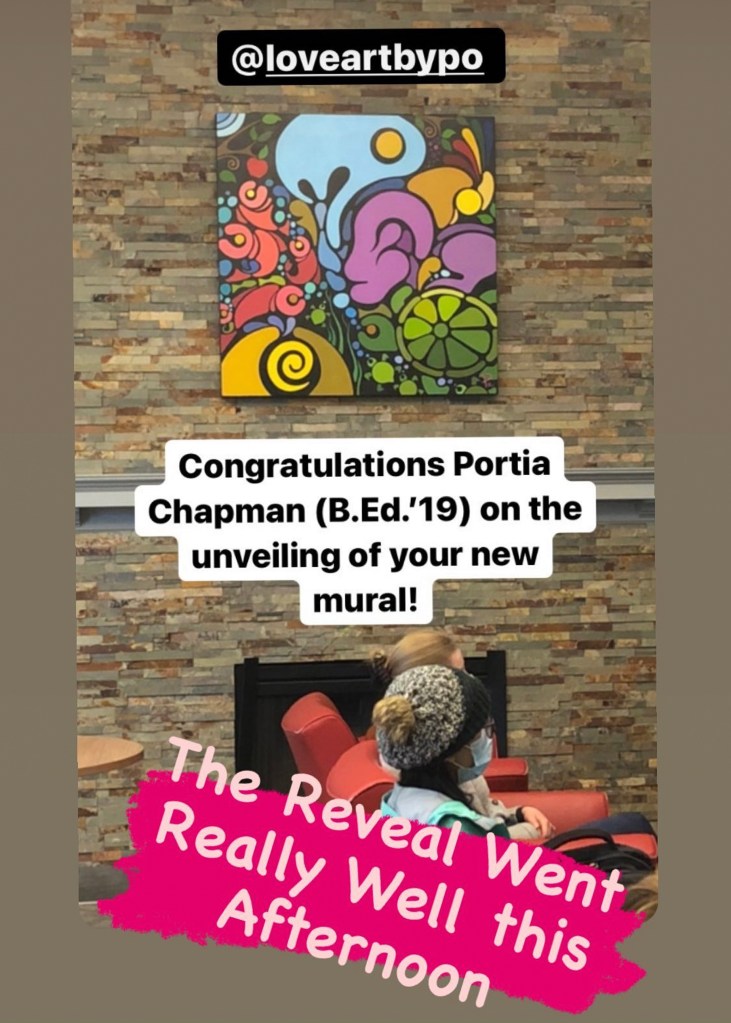
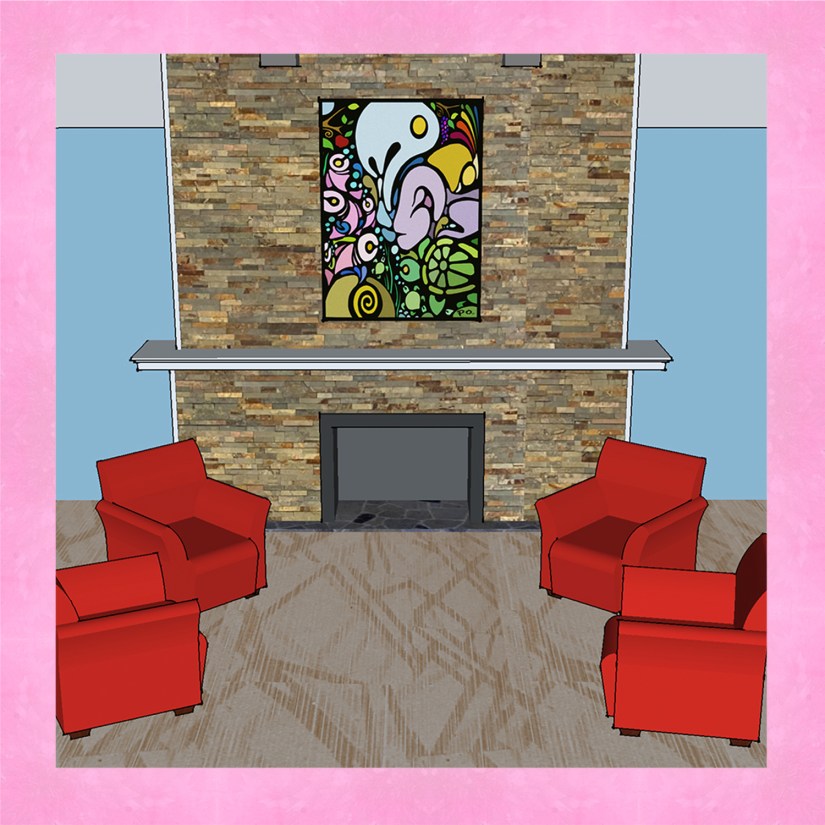
Colour Blocked Mural over Fireplace by Po in Kingston
Using a brush when painting a mural featuring colour blocking achieves crisp, opaque lines and shapes. It takes a painter many years of practice to produce sumptuous, flowing edges that are crisp and fluid. My own technique produces “flat” brush strokes that appear almost textureless.
The power of the murals I paint is the seamless connection with the viewer and the space – only achieved through exactness. The mind and soul immediately understand the imagery because without blurred edges, one need not interpret – just enjoy.
If you’re ready to bring contemporary, hand-painted mural energy into your Kingston home, I can help design and create a space that feels alive, intentional, and completely unique.
Kingston Mural Artist Portia “Po” Chapman Painting Outlines with a Small Brush using Specialty Exterior Acrylic Paint
Kingston Hand-Painted Murals by Po | Original, Vivid, Organic Colour Blocking
From cozy cafés to modern offices, Kingston is home to incredible spaces. I am sure that we can all agree that every incredible space deserves magnificent artwork. Of any art, nothing transforms a wall like a hand-painted mural. While digital prints or projector-based murals are quick and convenient, they lack the energy, precision, and human touch that a true hand-painted mural delivers.
My work uses organic colour blocking, a contemporary technique I developed that produces razor-sharp edges, fluid forms, and sumptuous colours that seem to breathe. Unlike spray cans or mechanical reproductions, every brush stroke is intentional, every edge precise, every colour alive, every shape beloved.
Why choose a hand-painted mural for your Kingston space?
Presence: Hand-painted murals carry the signature of the artist. They are tactile, alive, and impossible to duplicate digitally.
Custom fit: Each mural is designed for your space, wall dimensions, and the energy you want to create.
Emotional impact: Organic colour blocking resonates on a subconscious level, making rooms feel calm, energized, or expansive — depending on the design.
Clients across the Kingston, Picton and Belleville region have told me that stepping into a room with one of my murals is like stepping into a new world — vibrant, contemporary, and unmistakably personal.
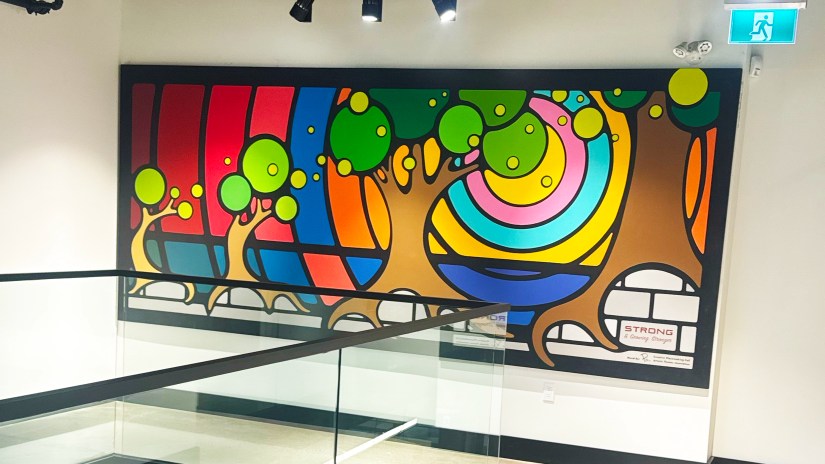
Kingston artist Portia Po Chapman’s mural. “Strong and Growing Stronger” is Installed at the Strong Enterprises Headquarters Office Building in Belleville, Ontario. 2025
If you’re ready to make your space unforgettable, a hand-painted mural is the ultimate investment in art, atmosphere, and identity. To start your mural process, contact me today – e-consultations and quotes are complimentary.
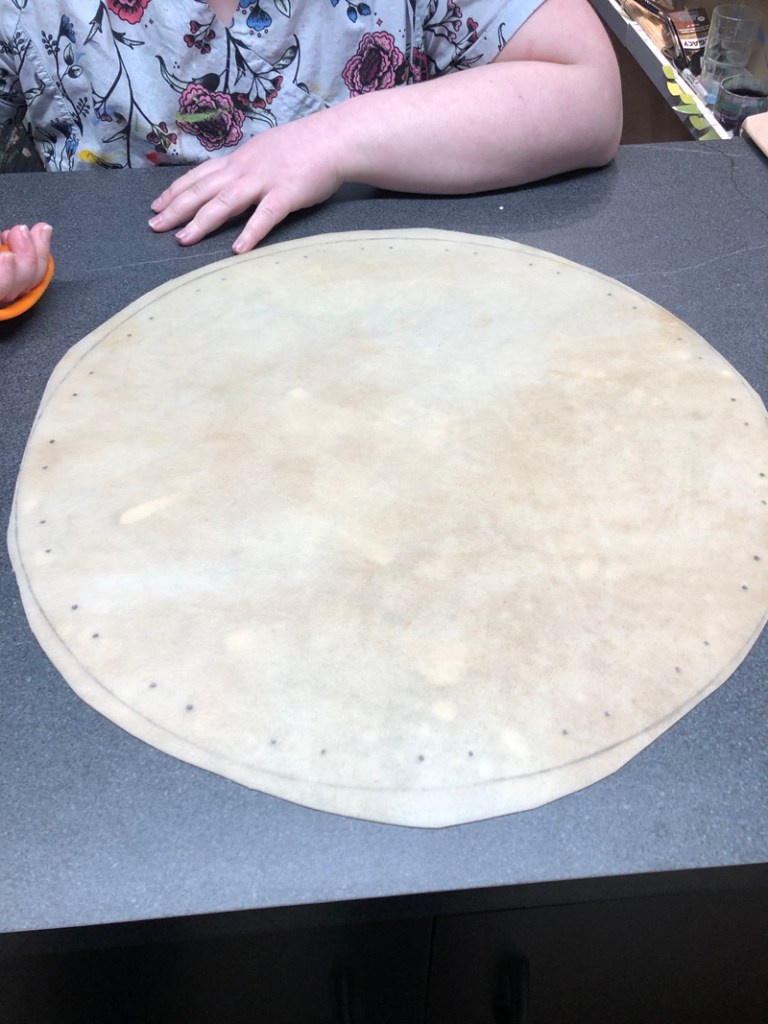
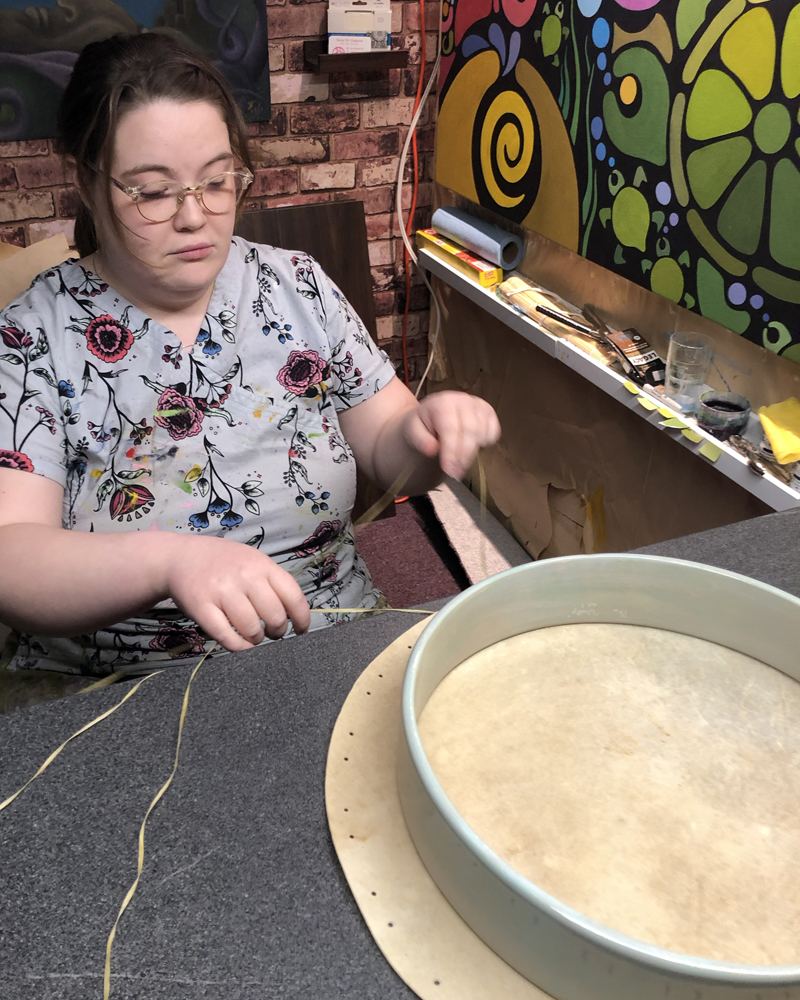
Po has Drawn on Shape and String Holes and is Ready to Cut the Rawhide
In order to cut the shape, I first draw on the pattern. In order to do this, I lay the drum frame on the soaked rawhide and draw the shape with an HB pencil that is not very sharp. The size that I draw on is usually about 2-1/2″ larger all the way around the frame. So for a 14″D frame, I draw on a 19″D shape that is the same shape of the frame. After I do this, I mark the string pleating holes, to be punched out later. This can be a very frustrating step, so I create a paper template and fold the paper to assure that the pleat holes are perfectly symmetrical. I will be posting another how-to concerning this step, but basically the two holes close together are for the pleat and the wider space is where the hide will lay flat against the frame when dry. The number one thing to remember is, the pleats must be evenly spaced and even in number, such as 8, 12, 16 pleats and so on. Keep the string holes about 3/4″ from the edge, all the way around. Premium drums have 16+ pleats. But to begin, I would only use 8 or 12 pleats.
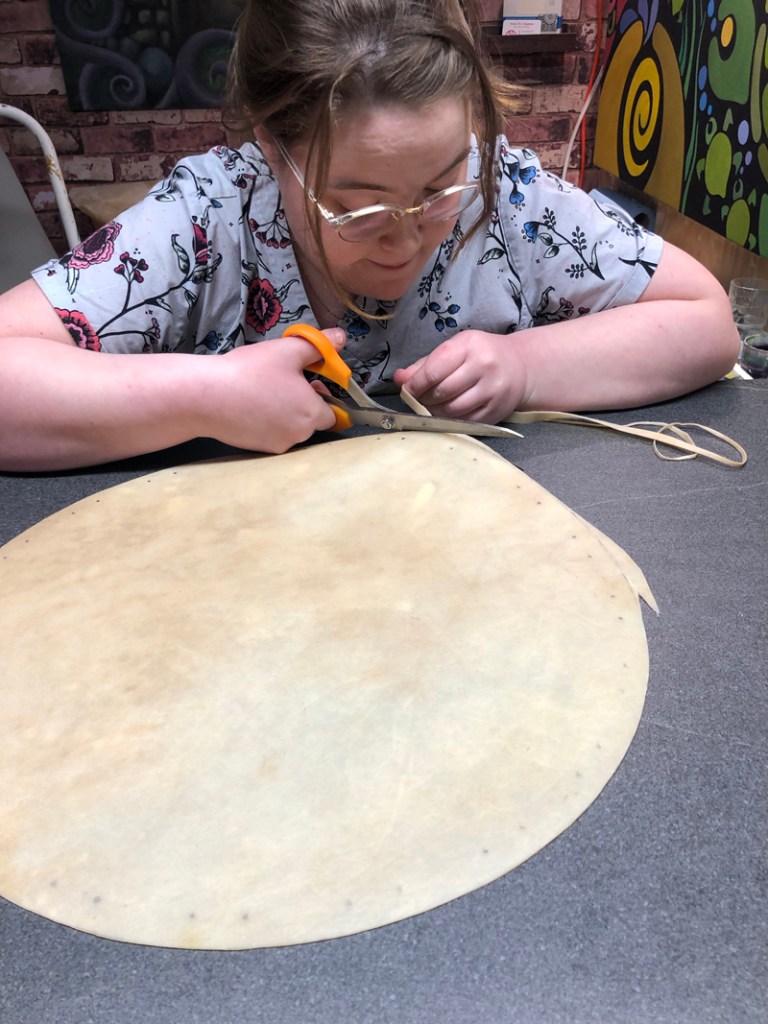
Step 2: Cutting the Rawhide
Po Cutting Soaked Rawhide to be Stretched Over the Drum Frame
Cutting rawhide is fairly easy to do if the hide is thin. In this step-by-step guide, I am using opaque elk because this drum head will be painted. Elk and deer are from the same family. Deer is typically the more thin of the two. I will be posting another guide concerning the different rawhides, but for now a rule of thumb is: 14″D and smaller drums use deer or elk. In the photo at the top of this post, I am stringing a 14″ D drum with a coiled white cedar frame that I have painted. In order to cut thin elk, I find that using kitchen sheers or fabric scissors does a good job.
Step 3: Punching the String Holes
Po Punching Hole in Rawhide for Stringing the Frame Drum
This step is quite simple, once you have the hole spacing figured out. After I mark on the dots for stringing the drum skin pleats, I use a leather hole punch. There are two hole punches that are readily available to purchase at craft and building supplies stores, they are: ones that work like scissors (as in the photo above), and punches that resemble awls that you hammer through the rawhide. The former is usually strong enough for deer and elk, but the latter may need to be used when punching moose and bison. Punching holes through rawhide is not like punching holes through note paper. Rawhide is fibrous, almost stringy. When it is soaked, it becomes thick and rubbery too. In other words, every hole punches differently from each other.
Step 4: Situating the Drum Frame
Po Placing Drum Frame in Centre of Cut Rawhide
Before stringing, I check to make sure that everything fits and is evenly spaced. I place the finished drum frame in the centre of the cut and punched rawhide. To assure that it fits the way I want it to fit, I use a ruler and measure the distances between the frame and the edge. All the way around, there should be the same amount of rawhide outside the drum frame.
Step 5: Measuring out the Sinew
Po Stringing Through First Punched Hole After Measuring Out Sinew String/Lace
I use synthetic sinew for stringing. Some people call the sinew, “string,” and other people call it, “lace.” There are 4 types of string/lace, that are commonly used, they are: sinew (from a deer’s Achilles Tendon), synthetic sinew (buy by the spool), rawhide (thin strips that are cut from the perimeter of a soaked piece of rawhide), and rope for large moose, double headed, pow-wow drums. Measuring out the sinew is a tricky, nerve wrecking procedure. The length you need, needs to be one continuous strip. I measure about 5′ of string for every 1″ of drum frame diameter. So for a 14″D drum, I measure out 70′ of sinew. For a 24″ drum, I measure out 120′ of sinew. Also, just to be safe, I measure out another 20′ of sinew. I ran short once. I never want that to happen again. So now I wheel off extra! “Better safe than sorry,” as they say. This is the number 1 reason I use synthetic sinew. It is the best choice to use 120′ of continuous string.
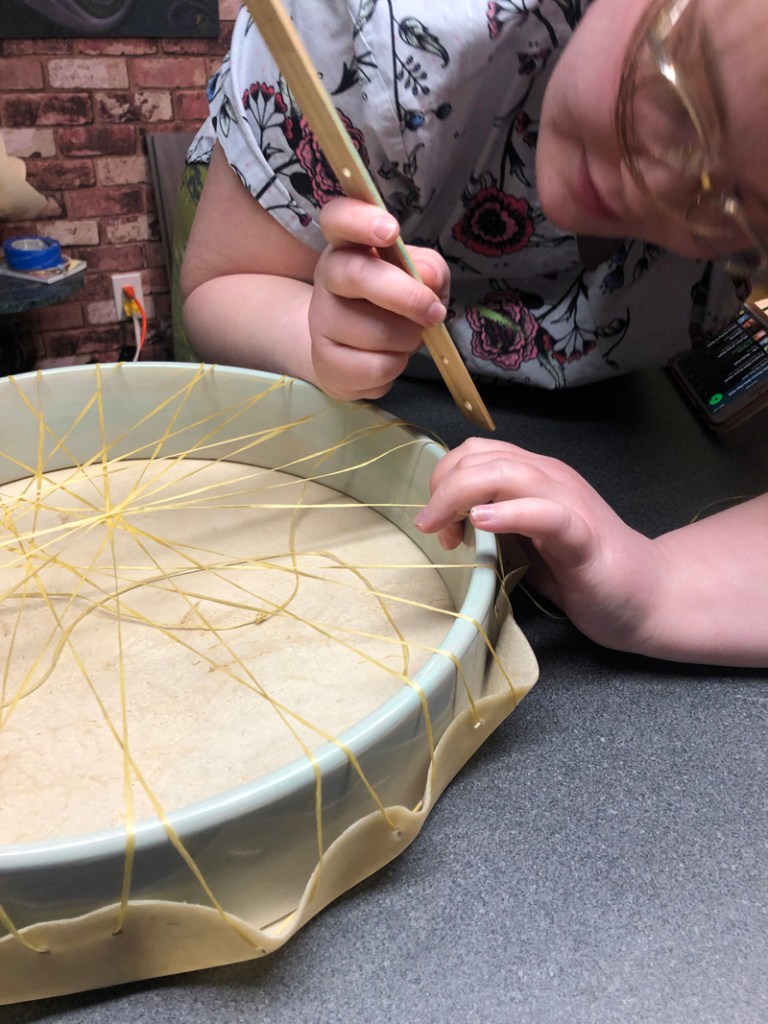
Step 6: Stringing the Drum
While Stringing the Drum, Po Measures the Edges to Assure that the Drum Frame has Remained in Place
To string a drum, I pull one end of the string through one hole and then through the hole on the exact opposite side. Please note, I pull the entire strand through both holes, leaving about 2′ hanging outside the first hole. Then I continue to do the same, all the way around the drum, crossing the strings through the centre. In the image immediately above, notice that the string passes through the frame-side of the pleats (the two closest hole pairs). This allows for an attractive, elegant pleating of the hide. So when stringing, pass your needle through the outside of the hide, across the inside, and then through the inside to the outside. You’ll catch on. The practical reason I do this is due to physics. By pleating through two holes, rather than one, creates a stronger hold while applying less pulling on the individual holes. If you use one hole, you stand a pretty good chance that the rawhide will rip through. Believe me when I say: “YOU DO NOT WANT THAT!” Please note that I am creating a video to illustrate this more clearly and will be posting in the near future.
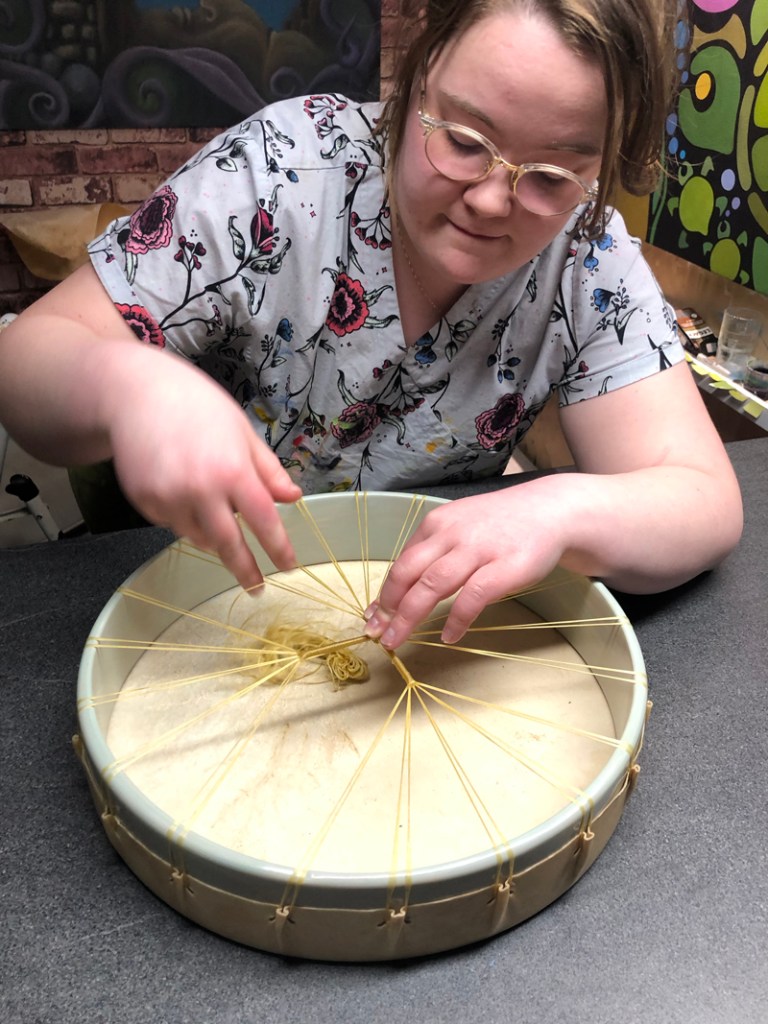
Step 7: Creating the Strung Spokes
After Stringing, Po Creates Spokes to Hang Onto While Drumming
Before I begin with this step, take a look at how the pleats look after the rawhide has been stretched and strung. By stringing through the frame side of the pleats, a uniform pleating is created and the pulled holes are firm and uniform. If you want to make a premium drum, you will need to master this step with this method of drum stringing. Now onto the spokes. From what I can tell, in various traditions, the spokes are formed by wrapping cord, sinew, or deer hide. Locally, they are formed and wrapped using split deer hide. I prefer using the continuous synthetic sinew because it is strong and I prefer the appearance. So what I do is, I wrap the sinew around multiple pleat (forming) strings. As you can see in the photo, I am wrapping 10 strings (5 pleats’ worth) together. I wrap them as far up as I want to achieve the desired tightness of hide. When I reach the furthest point desired, I weave the sinew through the individual strings 3 or 4 times. This creates a basket weave appearance. I do this to anchor the spoke so that it won’t slide out of place. When the weaving is complete, I wind the sinew back down the spoke. Once the centre knot of the strings is reached, I wrap the centre knot a few times and pull it tightly. Then I proceed to create another spoke. Once all 4 spokes have been created, I knot off the string behind the main centre knot. At this point, the drum is complete. I then sit the drum in a dryish (50% humidity) location with good ventilation above and below the drum. In just a few days the drum is ready to be drummed.
Hi, I am Portia “Po” Chapman from Kingston Ontario. I am an artist who hand makes unique frame drums. On this post, I will show you how to pick the best hardwood pieces for single-ply, steam bent drum frames. You’d think that it is easy, but it is not. Follow these steps and you will improve your chances of success.
Po Returning from Lumber Supplier
What Types of Wood are Best for Bending Drum Frames
My top 3 woods to use are: red oak, maple, cherry. I have not had much luck using white oak or walnut. All the research I have done, says that white ash is the best, but I cannot find a white ash supplier and the white ash drum frames that I have purchased from other suppliers have been economy grade. So for this article, I will address my preferred 3 woods mentioned above.
Po Sanding End Wedge of Red Oak Board Before Steaming and Bending. Notice the Long Grain Without Knots.
How to Choose Wood for Drum Frames
When selecting the lumber at the yard, be sure to choose wood without knots, splits, or swirling/wandering grains. All three of these characteristics will result in drum frames that crack and break while bending them into a drum shape. You want to pick long straight grains that do not drift off to the edges of the board. It will take you some time to find the ideal ones. Note: you pay the same price if they are in the same pile, so take your time to choose the most suitable ones.
What Size of Lumber to Buy for Drum Frames
The next thing with which to concern yourself is the board length and width. Most frame drums / hand drums range from 12″-16″ in diameter. To create drums frames of these diameters, you will require boards between 4′-6′ long. If you can afford it, however, purchase boards 7′-8′ long to assure that you can make drum frames after potential splitting during the bending process.
Notice How the White Oak has Snapped. In this Photo, Po’s Assistant is Compressing the Drum Frame to be Marked for Cutting. Be Sure to Have Enough Wood to Accommodate for Splits and Breaks During the Milling, Steaming and Bending Phases of Frame Drum Making.
Recap – How to Choose Wood for Steam Bending Drum Frames
I choose Red Oak, Maple, or Cherry woods that have long straight grains and have no knots. My preferred stock is 1″ thick, 7′ long and 4″-6″ wide. In Kingston, these boards will run between $50 and $100 each. In short, making steam-bent hardwood drum frames is not a cheap art in which to dabble. At my private art studio in Kingston, I make rawhide drums from 8″-23″ in diameter and range in price from $200-$2000.
A Process of Art Planning Creation by Portia Po Chapman Kingston Artist
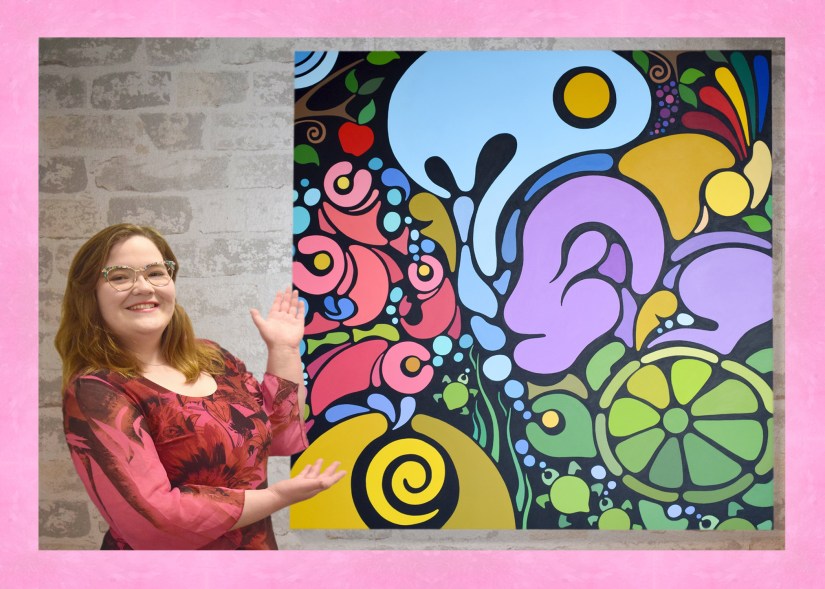
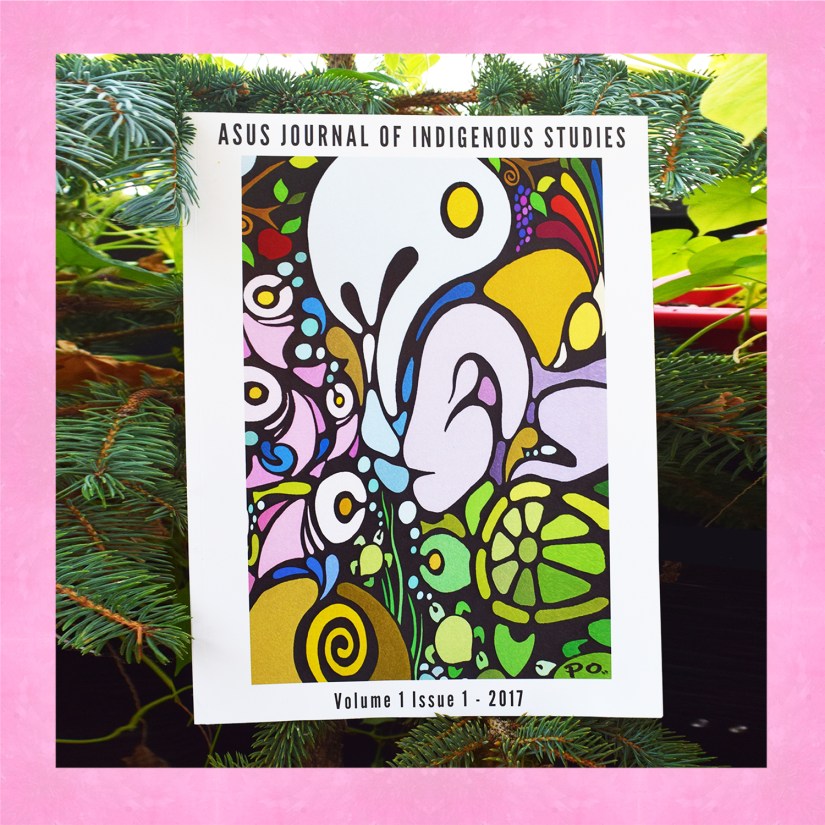
We all have our own method and strategy to create our art pieces. For me, I start with 2 things: 1/ An idea notebook that I enter flashes of visions, ideas, concepts, and sketches of possible cool things to do in the future. I also include inspiration quotes and sometimes reflections about my experiences. I keep sheets of paper on my bedside table to record dreams too. When one idea doesn’t float at one point, it may in the future. The following image was eventually painted in 2022 as a mural for Queen’s University’s Kingston Hall Reflection Room but I first created it in 2018 for my 3rd year BFAH class and it was rejected by the professor because the prof said that, “It looks like something you’d paint in your garage.” The thing is, it was the beginnings of my current art style and landed me several commissions when I finally finished it outside the course. “My Creation” mural took 4 years before it was commissioned and mounted. It began with a simple sketch and grew for years. The mural was created because the ASUS executive adored the original digital image and had been awaiting the chance to have it painted. This is often how commissions work. The organic growth and development of art concepts can take many turns until it reaches its destination. I still find the journey amazing.
“My Creation” Published as Cover Image (the cover is more intense the photo is faded) 2019
“My Creation” Digital Journal Cover Proposal 2018
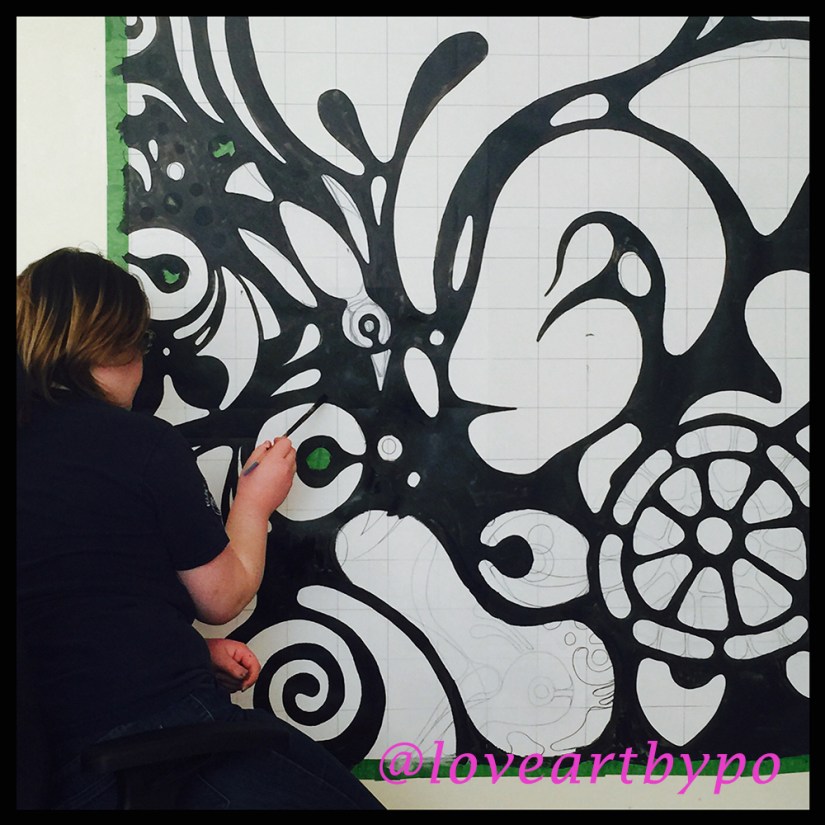
“My Creation” Began as a Sketch and Then I Painted a Trial Image Which was Rejected by My Prof 2018
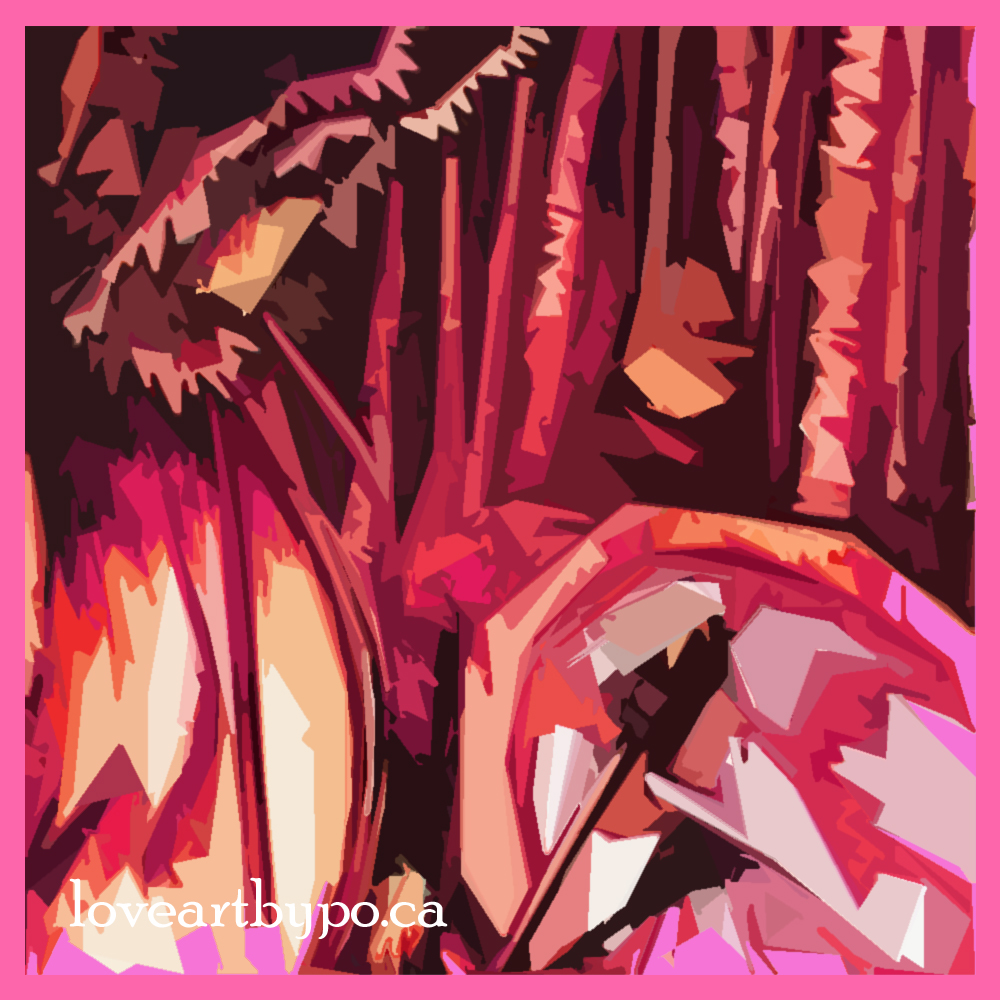
2/ The second thing I do for art creation is take photos or have photos of me in the environment. I like to catch a moment – the nuances of life that happen in a moment in time. The following digital image is a current idea that I am working on as I consider the painting medium and final expression. The piece is entitled, “My Drum and Me.”
“My Drum and Me” Digital Draft for Painting Planning 2023
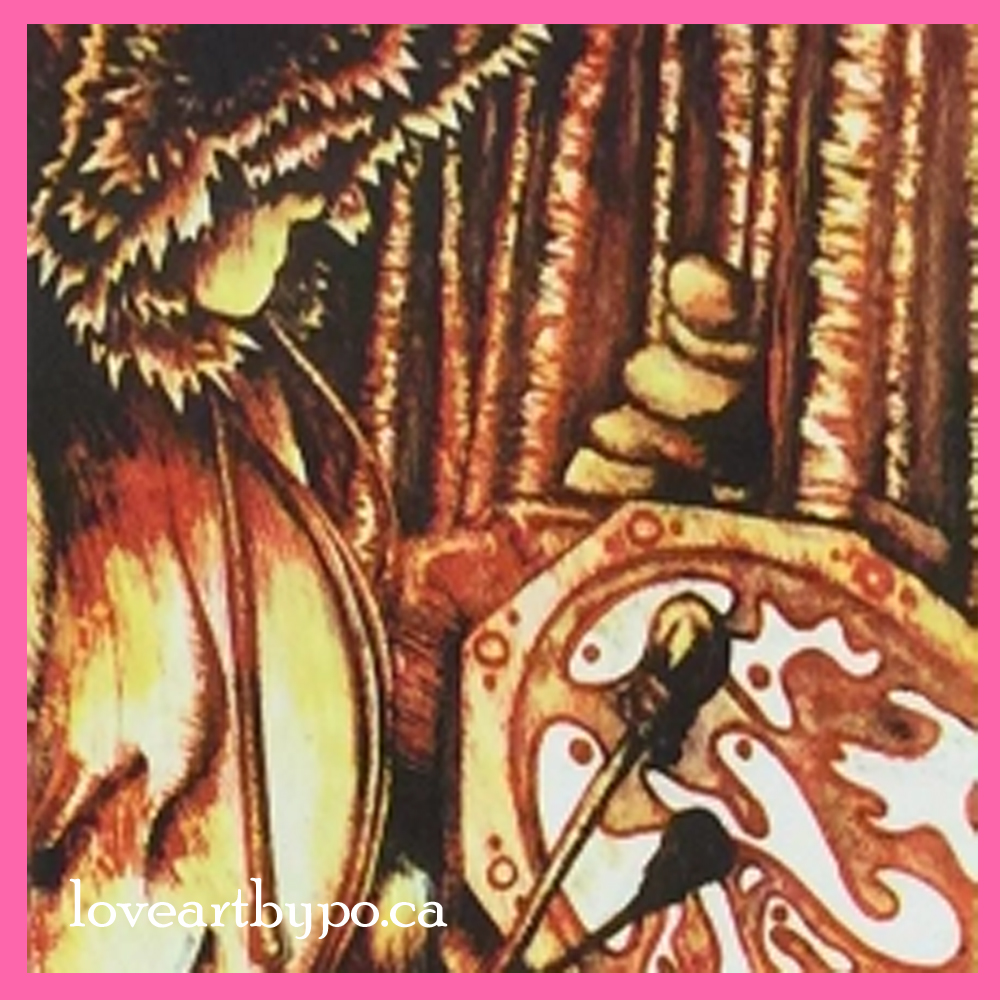
“My Drum and Me” Stone Lithograph Art Print 2018
“My Drum and Me” Hand Drawing Lithographic Stone 2018
“My Drum and Me” Original Photo A Family Member Took this Photo When I Was Drumming Outside 2017
Again as one can see, a beautiful moment in time captured by a photo and/or inspiration notes and drawings can lead to some really beautiful art pieces in the future. If anything, their journey materializes as life takes its own twists and turns. An art concept never gets old, it simply waits for its time to shine, but as it waits, the inspiration weaves itself through one’s career and the creation of other pieces. Art is not created in a vacuum – it lives and breathes through us as artists and art enthusiasts. Art is alive, even as it awaits its birth.
How to Make a Paper Snow Globe – Po’s Arts and Crafts Corner
At the Agnes Etherington Art Centre Creation Station we made paper plate snow globes. The following is a print out sheet that you can use at home or school. The craft is intended for JK+. Adult supervision and assistance may be required. Have fun!
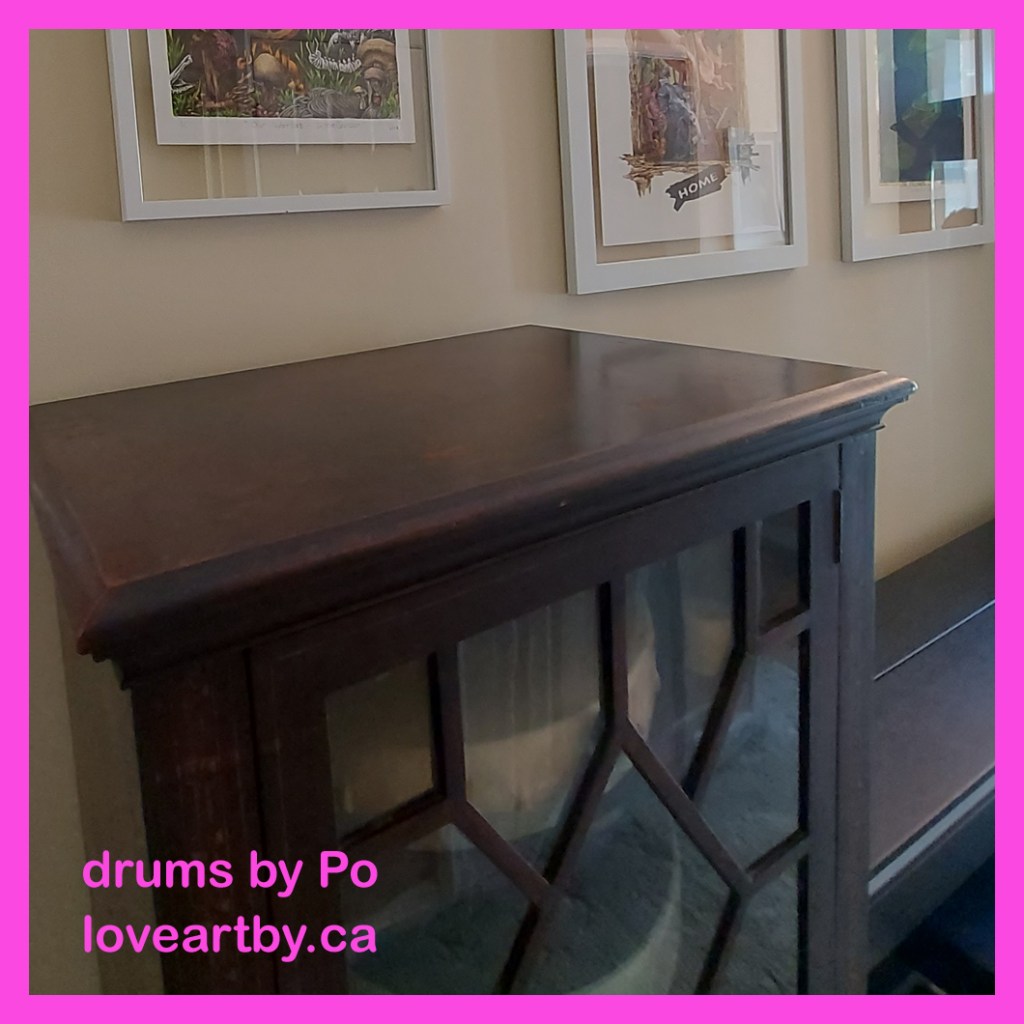
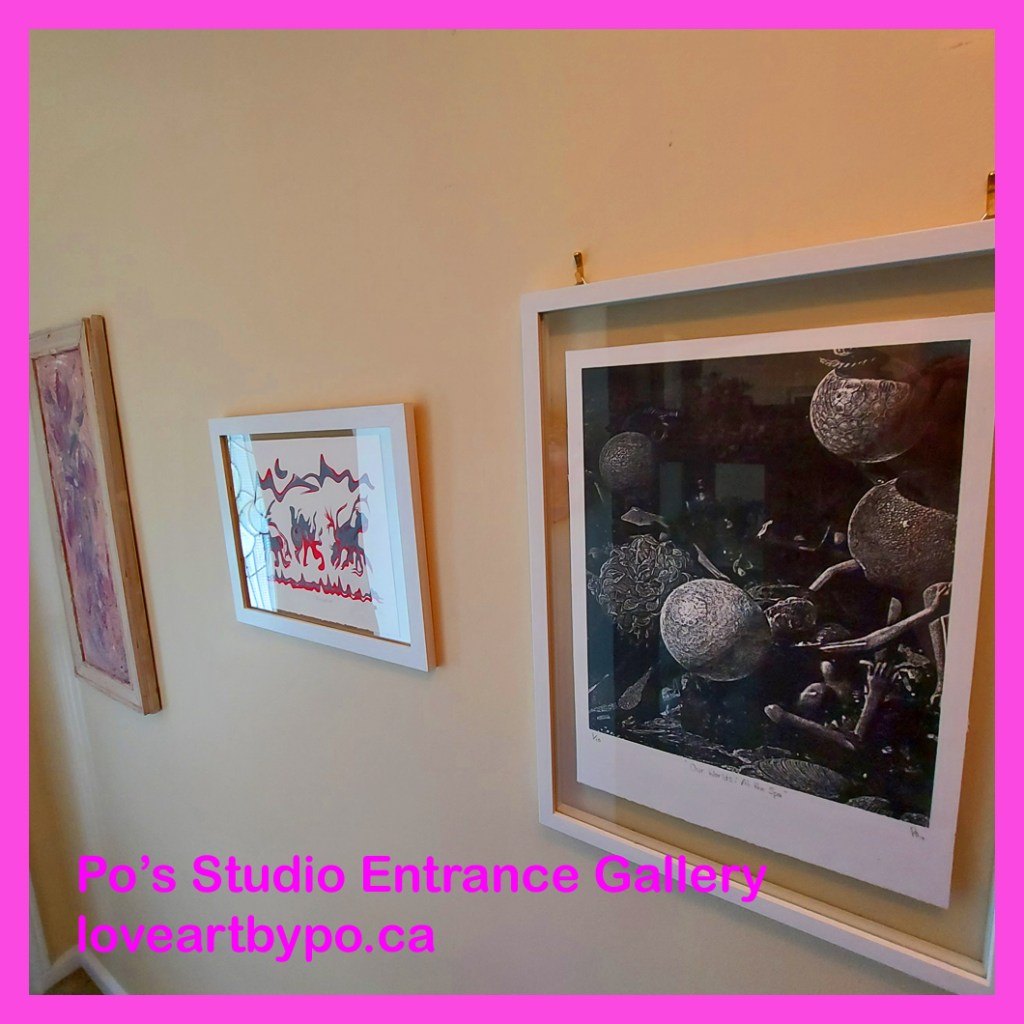
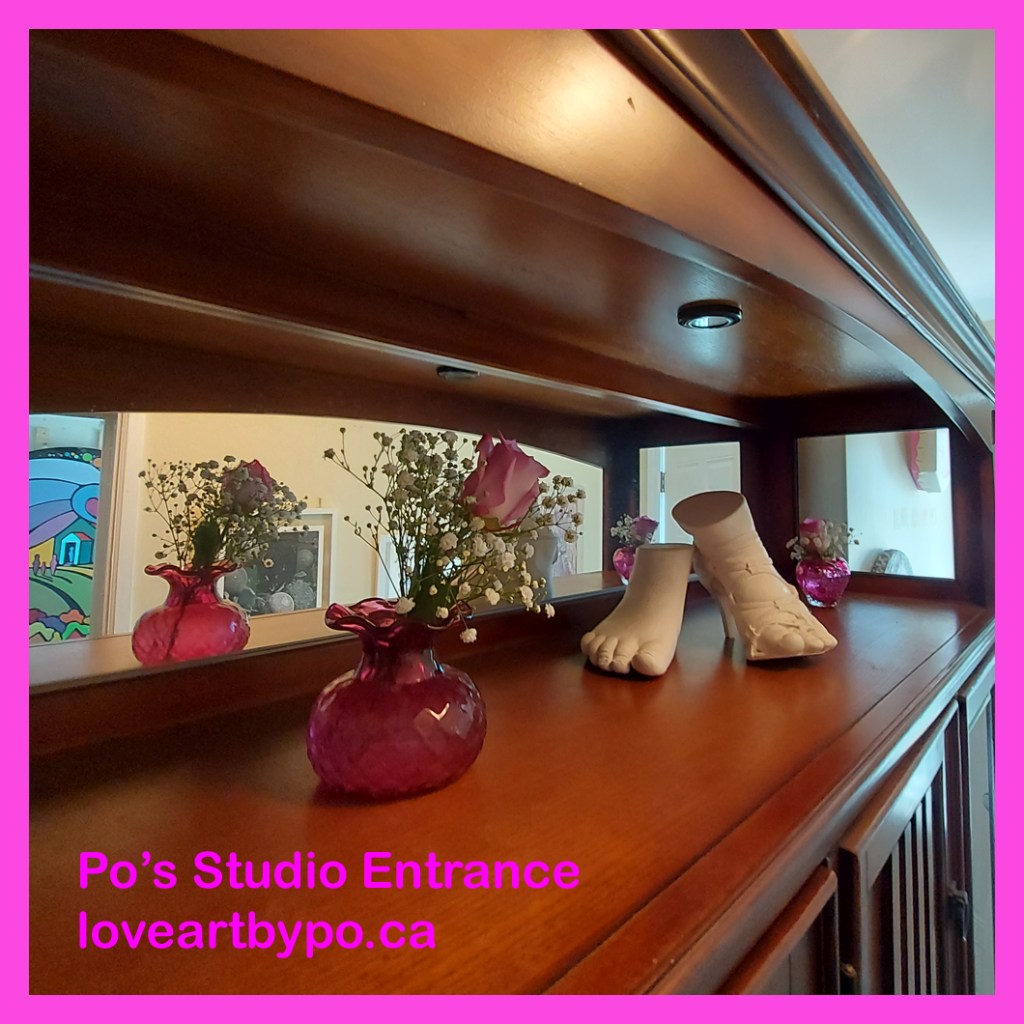
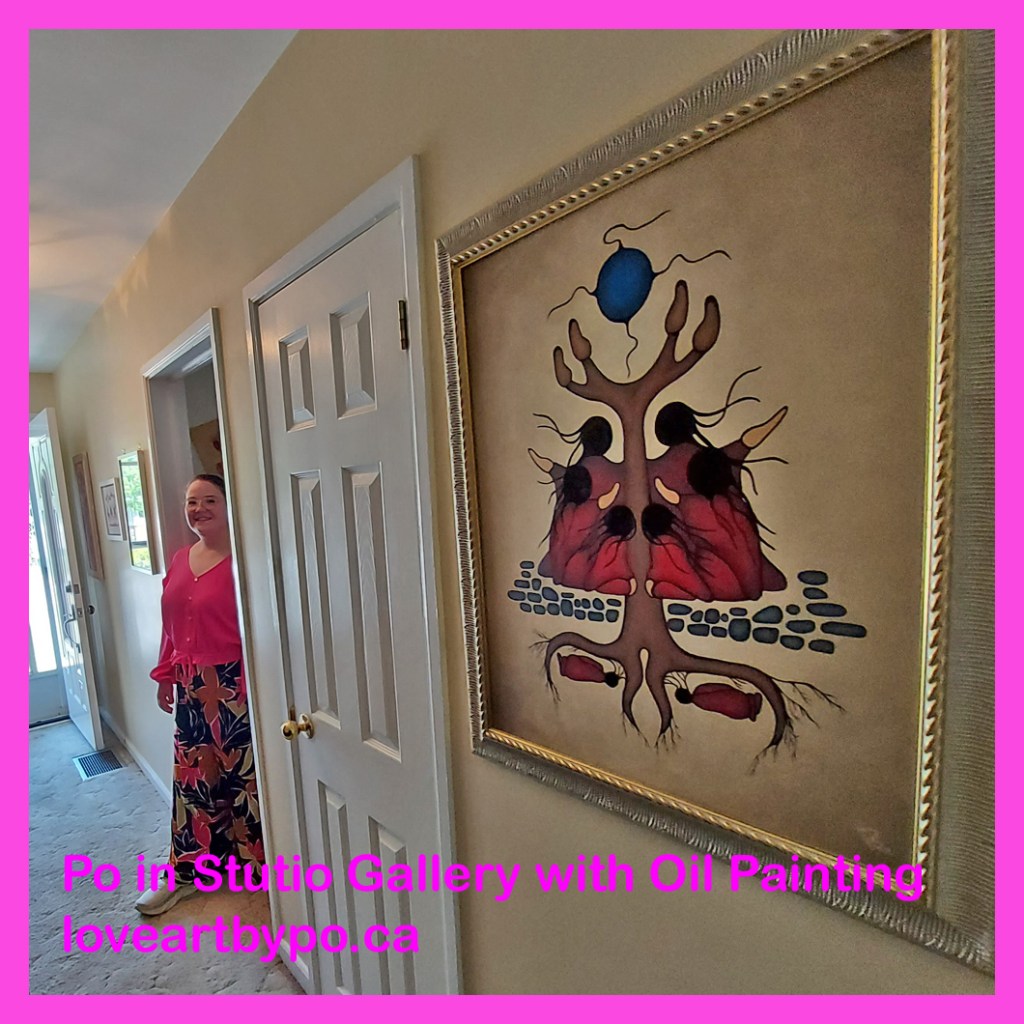
Portia “Po” Chapman’s Kingston Art Studio is a Place to Create
My new studio is a place for me to create, have zoom meetings with clients and present my artworks. I do not have a walk-in store location at this time. Thank you for you understanding.
It dawned on me that I have not posted any photos of my new Kingston Art Studio. Although I do miss being down on Bagot Street (I adore downtown Kingston), the suburbs in the north end provide me with more creation space, easy access to building supply stores, Michaels, and the my much needed inspiration trips into the countryside north of HWY 401. The following photos are of my space where I create:


Let Me Know What You Think! Start or Join the Convesation