The Race to Drum in New Year – 2026
The rhythm of the season is building toward a crescendo. While many were tucked away with holiday films on Christmas Eve, I was in the workshop, continuing our journey toward a finished instrument. To drum in the New Year with a voice that is both resonant and beautiful, we must follow the proper order of operations: sand, stain, varnish, and finally, string.
Reflecting on the Foundation
In our Day 15 video, we tackled the critical task of erasing the overlap seam. Using a portable spindle sander, I smoothed the transition until the wood felt like a single, continuous loop. As you can see in today’s introduction, that seam has completely vanished, leaving us with a flawless canvas for our colour.
Engineering the Workspace: The Staining Station
Success in finishing starts with a stable environment. Whether it is a sunny summer afternoon outside or a brisk winter day in the shop, I rely on a portable, heavy-duty folding table that has weathered years of artistic projects.
Building Your Staining “Cradle”: To ensure the frame is evenly coated without sticking to the work surface, I create a temporary riser system.
- The Materials: I used trimmings of red oak from my table saw bucket, though bamboo garden stakes work wonderfully in the summer.
- The Technique: Break your wood trimmings to length so they span the width of your frame.
- Pro Tip: Use green painter’s tape to secure your sticks to the table. This prevents them from shifting while you work and allows for effortless cleanup, as the stain won’t bond to the tape.
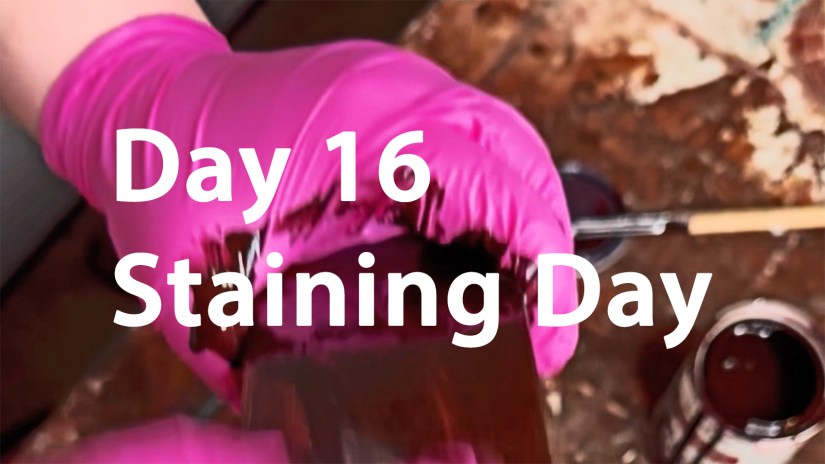
The Art of the Application: “Black Cherry” on White Oak
White oak is a legendary hardwood, prized for its pronounced grain and historical use in antiques. However, its density makes it a challenging student in the workshop. To properly stain a wood with such deep pores, you cannot simply wipe the color on; you must work it into the fibres.
The Staining Process:
Saturate: Use a lint-free cloth soaked in Varathane “Black Cherry” stain.
Rub Across the Grain: This force-feeds the pigment into the deep, open pores of the white oak.
Wipe Along the Grain: A final pass in the direction of the wood’s growth removes excess liquid and creates a uniform, professional finish.
A Christmas Eve Revelation
The timeline for a New Year’s drum is strict: to have the hide stretched and dried by midnight on December 31st, the frame must be strung by December 27th. This meant the staining had to be completed by the 24th to allow for proper curing.
Adding this workshop session to my Christmas Eve festivities—slipping away between wrapping gifts to check on the wood—added a special layer of joy to the holiday. When the stain hit the wood, the result was breathtaking. My shop assistant, the cameraperson, and I were all stunned by the revealed grain. It became clear in that moment why white oak was the choice for the heirlooms I have admired all my life.
White oak has been an adventure—it is stubborn, heavy, and demanding—but seeing this “Black Cherry” finish reveal its hidden patterns has made every hour of labor worth it.
The frame is ready. Join us for Day 17 as we move into the varnishing phase!
See You Tomorrow for Day 17
Read more about my art and contact information at Love Art By Po and the many drums I make.
To contact me directly, please use this email:
One response to “Drum December Day 16 – How to Stain a Drum Frame”
-

[…] Day 16: Staining the Drum Frame […]

Let Me Know What You Think! Start or Join the Convesation