Preparing the Rawhide is as Much About Honour as it is Technique
Preparing the rawhide on Day 18, we step away from the woodshop and begin the patient process of rehydrating the rawhide. This is a slow, quiet transformation that requires respect for the animal and an understanding of the specific needs of the skin.
Step 1: Choosing the Voice of the Drum
I source my rawhide from across Canada, and I’ve learned that even within the same species, every hide has its own unique quality. In my workshop, I work with deer, elk, moose, and bison.
- The Rule of Thumb: Generally, the larger the drum, the larger the species of rawhide required.
- The Scale: Deer is typically the thinnest and smallest, while moose and bison are the thickest and largest. Moose is so substantial that I often purchase it in quarter-sections.
- Today’s Choice: Because our White Oak frame is on the smaller side, I am using a beautiful, translucent deer rawhide.
Step 2: The Rough-Cut
Before the water touches the skin, we must define its shape. I lay the drum frame directly onto the rawhide and cut a piece that extends about 2 inches beyond the frame all the way around.
- Tools of the Trade: For deer and elk, a pair of tin-snip scissors works perfectly. For the heavy moose or bison, I switch to a jigsaw.
- A Maker’s Hint: Trim off any sharp points or jagged edges during this stage. This prevents the rawhide from marking or scratching itself during the soaking and stretching process.
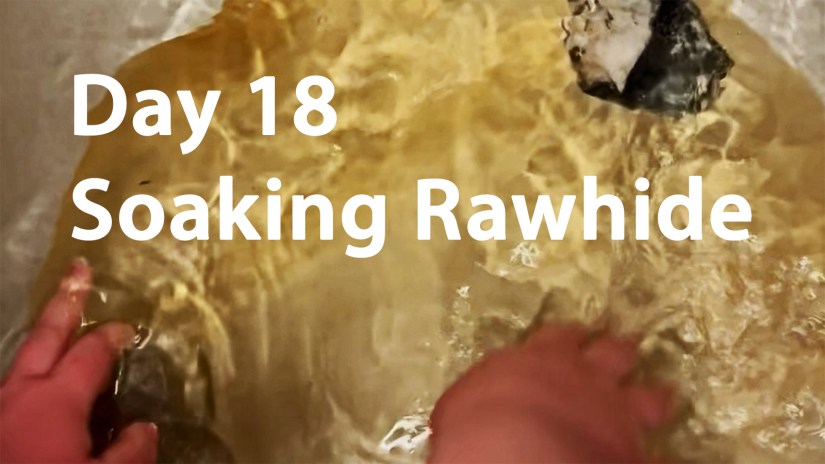
Step 3: Entering the Water
Soaking is about preservation. It is essential to use a clean vessel that is entirely free of soap residue, as we want to preserve the natural oils within the skin.
- The Vessel: In the summer, I love using a galvanized wash tub filled with fresh rainwater. In the winter, I move to the laundry tub and use distilled water.
- The Anchor: When the hide first enters the room-temperature water, it often wants to float. To keep it fully submerged, I weigh it down with rocks—specifically geodes and quartz. I can’t explain the science behind it; it simply feels right to anchor the animal skin with the bones of the earth.
Step 4: The Patient Wait
The rawhide needs time to remember its suppleness. I typically leave it to soak for 24 hours, though thicker hides like moose may need a little longer.
How do you know it’s ready? You will feel a change in the texture. The rawhide will feel thick in your hands and the color will transition into a soft, opaque white.
Join us tomorrow for Day 19 (December 27, 2025). We will lift the rawhide from its bath and begin the powerful work of stretching it over our White Oak frame.
Read more about my art and contact information at Love Art By Po and the many drums I make.
To contact me directly, please use this email:
One response to “Drum December Day 18 – How to Soak Deer Rawhide Before Stringing the Drum”
-

[…] Day 18: Soaking Deer Rawhide […]

Let Me Know What You Think! Start or Join the Convesation